Macro photography lets you get closer to things, letting you see all the remarkable information around you, as well as helping you produce special and innovative photographs. It might appear tough at first, but macro photography really isn’t so various from other type of photography when you get a grasp of the essentials. With these leading macro photography pointers you’ll be shooting excellent macro images in no time.
What is macro photography?
Macro photography is extreme close-up photography, utilizing a 1:1 macro lens in order to produce images of the subject bigger than life size, and this implies you can see things that you couldn’t generally see with your own eyes, making it amazing and enjoyable to do. The name ‘macro’ originates from lens makers wishing to signify a lens that can make smaller sized objects appear bigger. The majority of producers will identify their lenses as ‘Macro’ however Nikon, just to be different name them ‘Micro’ or MC.
Can you do macro photography with a phone?
You do not always require costly set to photograph little subjects, so yes, you can shoot macro photos with your smartphone. Nowadays, a lot of smartphones have a macro mode, with the iPhone 14 Pro and iPhone 13 Pro being some noteworthy smart devices for macro photography.
Check out the finest camera phones for photography for more options.
What are the benefits of macro photography?
Macro photography permits you to get up near to minute subjects and see them in a various way. There is an abundance of fascinating subjects both in nature and manmade environments– you can even shoot macro in your home. Making daily items and the mundane appear extraordinary.
How to shoot macro photos: 15 top macro photography suggestions
We cover the various kinds of electronic camera package you require to take terrific macro images, in addition to provide other services for macro photography if you do not own a devoted macro lens.
Pro professional photographer Colin Varndell offers his top macro photography pointers …
1. Choose the Best Lens
Taken with OM System M.Zuiko ED 90mm F3.5 Macro IS PRO installed on an Olympus OM-1. Picture credit: Amy Davies.
The focal length of macro lenses varies from 50mm to 200mm. Many zoom lenses boast a macro setting, these are usually less than half life-size magnification– true macro, nevertheless, starts with 1:1, with some lenses using even more.
A 50-60mm lens appropriates for basic macro photography work but if you want higher subject-to-lens distance a 100mm lens will give you this, however typically at a higher rate.
A 90-105mm macro lens is a popular option, with lots of companies providing a lens in this variety (or comparable). You can likewise look for macro lenses with built-in image stabilisation, as this can assist keep your images sharp.
For animals like butterflies and dragonflies, lens-to-subject distance becomes even more crucial, so your focal length needs to be greater/longer.
The 150-200mm lens range is the most costly, however you will appreciate the extra power when stalking flighty topics like this Gatekeeper butterfly (above). It’ll also give you even more range from frightening topics like spiders!
Take a look at our guide to the very best value macro lenses for help picking a lens.
2. Make a Standard Zoom Focus Closer by Adding Tubes
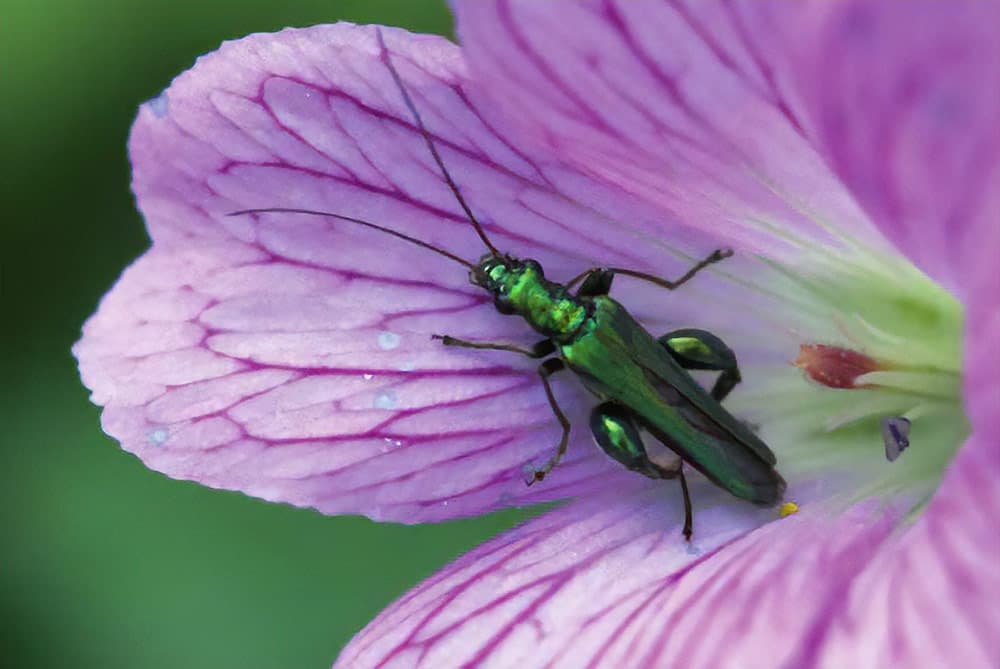
Oedemera Nobilis. Nikon D200, Nikon 18-200mm lens with 20mm extension tube. 1/125sec @ f/11, ISO 400
Extension tubes fit between the rear install of the lens and the electronic camera body to make the lens focus better and for that reason produce a much bigger image of a little subject.
This picture of a thick-legged flower beetle was shot with an 18-200mm zoom lens and a 20mm extension tube added. This is a more affordable alternative than buying a macro lens, however extension tubes are fiddlier to use in the field.
With an extension tube fitted you lose the infinity end of your focusing variety. Include more tubes and this ends up being progressively more minimal.
3. Include a Dioptre to Make a Lens Focus Closer
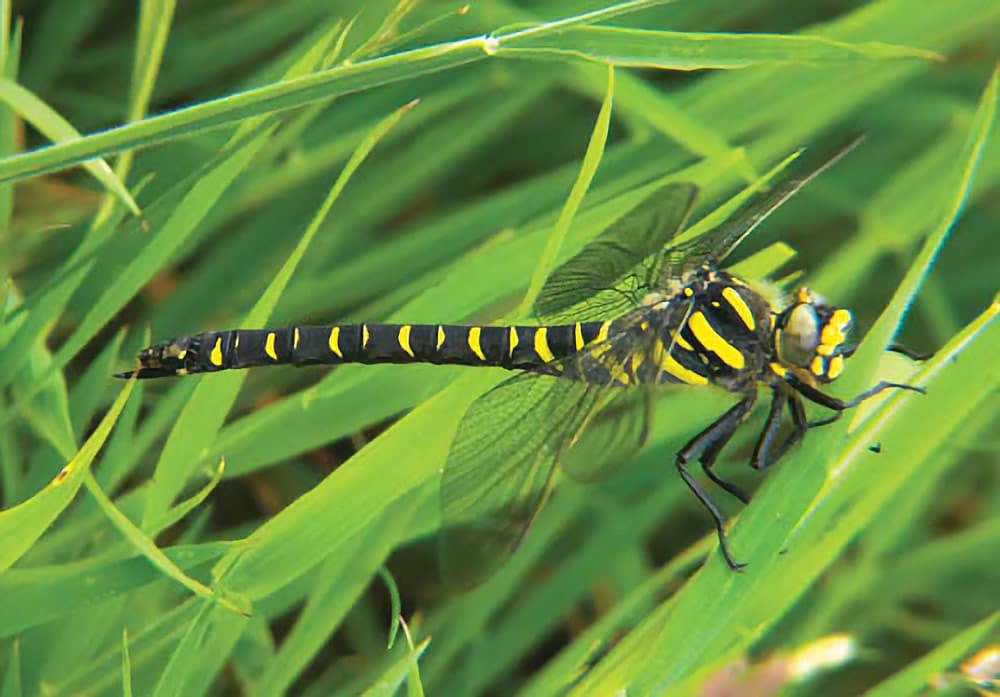
Golden-ringed dragonfly. Panasonic Lumix FZ30 fitted with a Cokin +3 dioptre. 1/250sec @ f/3.6, ISO 200
Close-up filters are single-element lenses that look like amplifying glasses.
These filters screw into the front component thread and can offer a low-cost option to sprinkling out on a dedicated macro lens.
They can be found in a variety of strengths that are determined in dioptres. Close-up filters are frequently available in sets of +1, +2 or +4 dioptre zoom. Dioptres are likewise available to fit Cokin design square filter systems.
These can be your only alternative if you’re shooting with a compact electronic camera or ultra-zoom camera, and by including a dioptre you can attain genuine close-up macro photography shots.
The golden ringed dragonfly revealed here was shot on a Panasonic Lumix FZ30 ultra-zoom video camera with a +3 dioptre added to the front element.
Something to keep in mind, is that these do add extra glass to your electronic camera, and this can have an unfavorable result on the image quality..
4. Usage Apertures to Control Depth of Field.
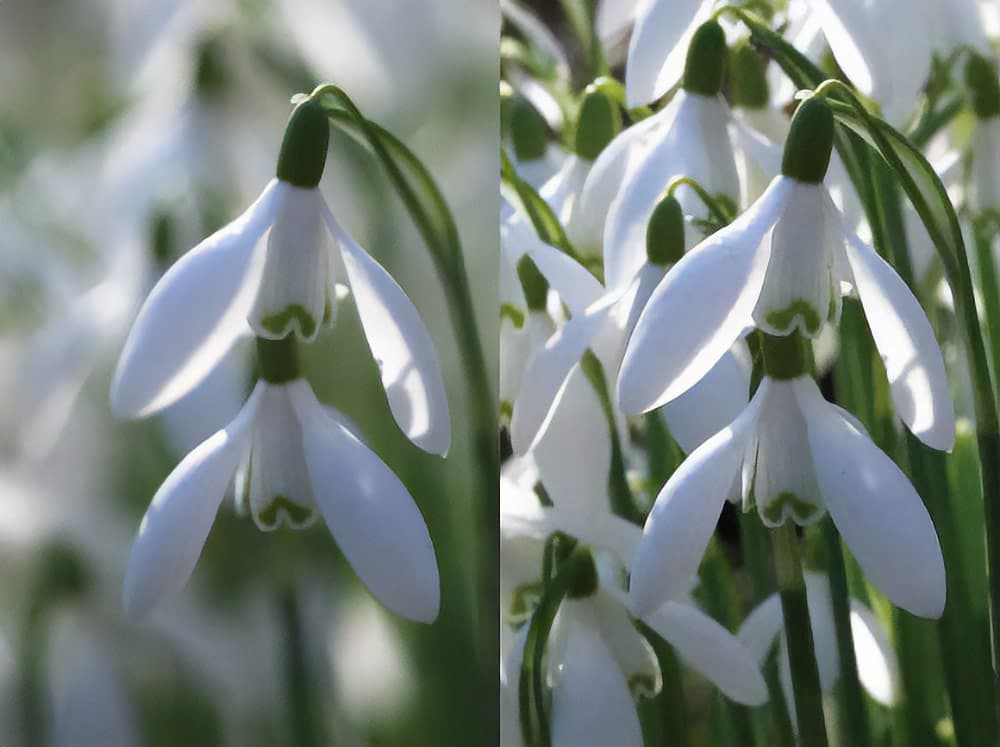
The left snowdrop shown here was shot at f/2.8 while the one on the right was taken at f/22.
To get the most out of available depth of field, select a little aperture like f/16 or even f/22, although understand diffraction, particularly on smaller sized sensor electronic cameras.
You will discover that at half-life size the depth of field you can achieve at f/22 will be only around 15mm at finest.
On the other hand, you might want to go to the other severe and show as little sharpness as possible by opening to complete aperture like f/2.8 or f/4.
One advantage of the latter choice is that any out-of-focus highlights will show as circle-like bubbles that can look really appealing.
To extend the area in focus beyond this, you’ll need to check out focus-stacking, either in-camera ( if your electronic camera supports it), or utilizing extra software application. This process combines a number of shots taken at different focus indicate offer additional detail.
5. Mix Flash with Ambient.
With more static topics it can be enjoyable to add a blip of flash just to spruce up your macro photography.
In this composite shot of a sycamore leaf, both images were exposed for natural light; nevertheless, the image on the right was given a blip of off-camera fill-in flash and the shutter speed was increased by one drop in order to darken the background.
This has offered a far more colourful image, which is especially useful when shooting on grey cloudy days.

Sycamore leaf. Nikon D200, Nikon 105mm macro lens. 1/125 (left) & 1/250sec (right) @ f/8, ISO 100.
6. Utilize a ‘Third Hand’.
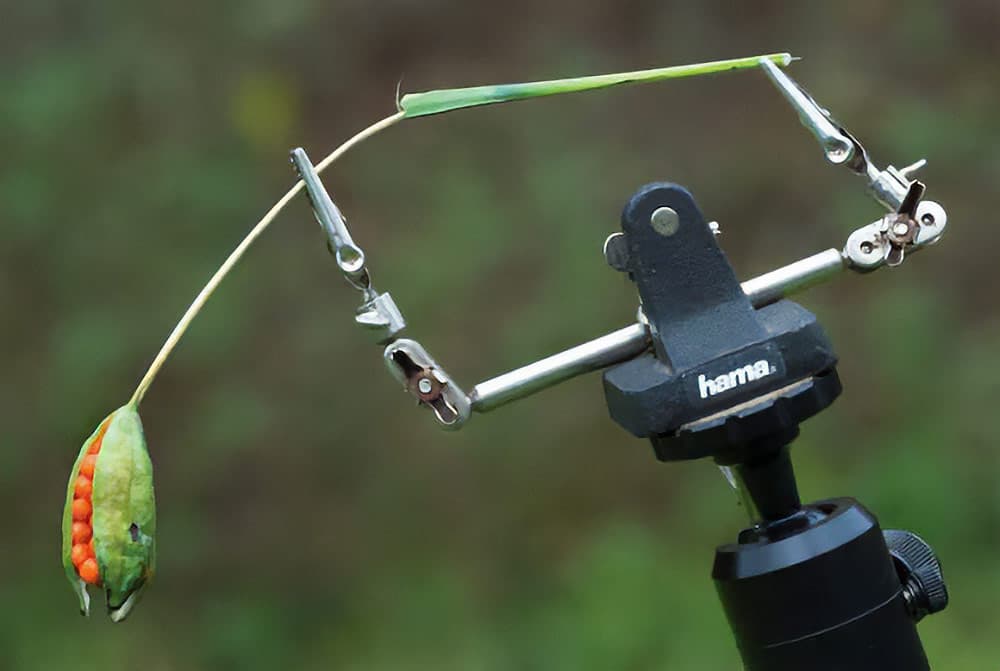
3rd hand macro tool from Hama– look for helping hands on Amazon UK.
A ‘3rd hand’ or ‘assisting hand’ device is an essential macro photography accessory. It will enable you to support or place subjects just where you desire them. In turn, it can likewise help to provide unlimited possibilities of positioning backgrounds.
This can be especially beneficial as it maximizes your hands for other things, such as utilizing a reflector to include or direct additional light onto the based on fill in shadows or improve the colour.
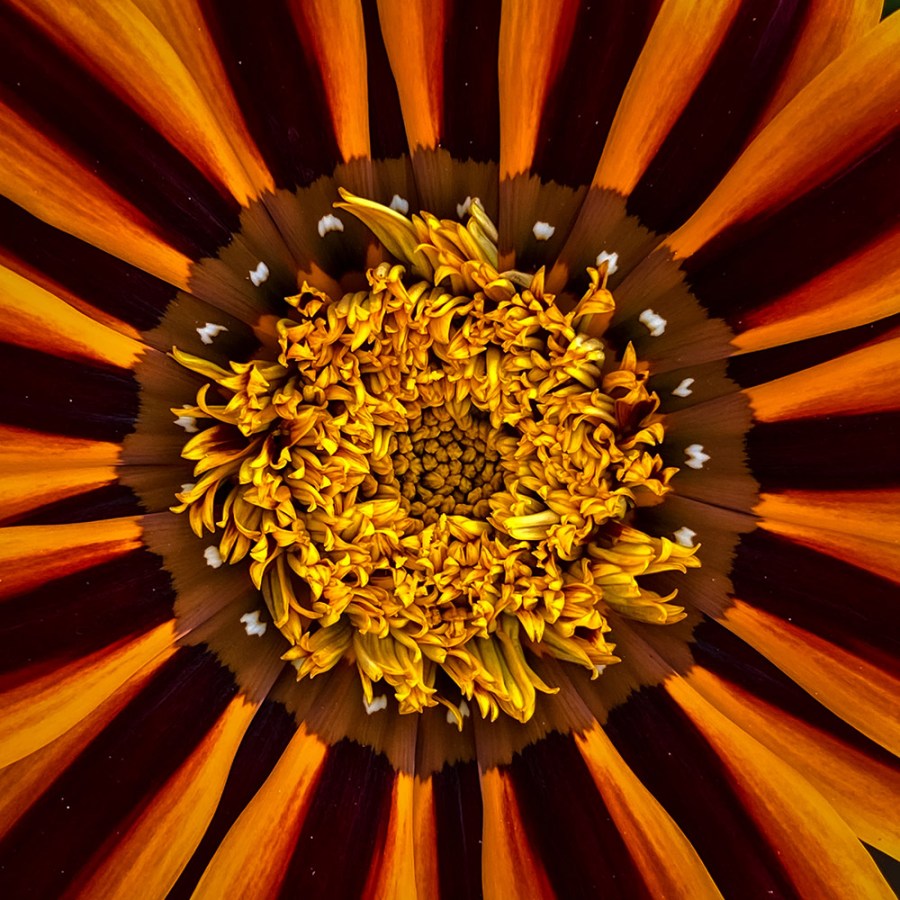
7. Tweak Macro Pattern Compositions.
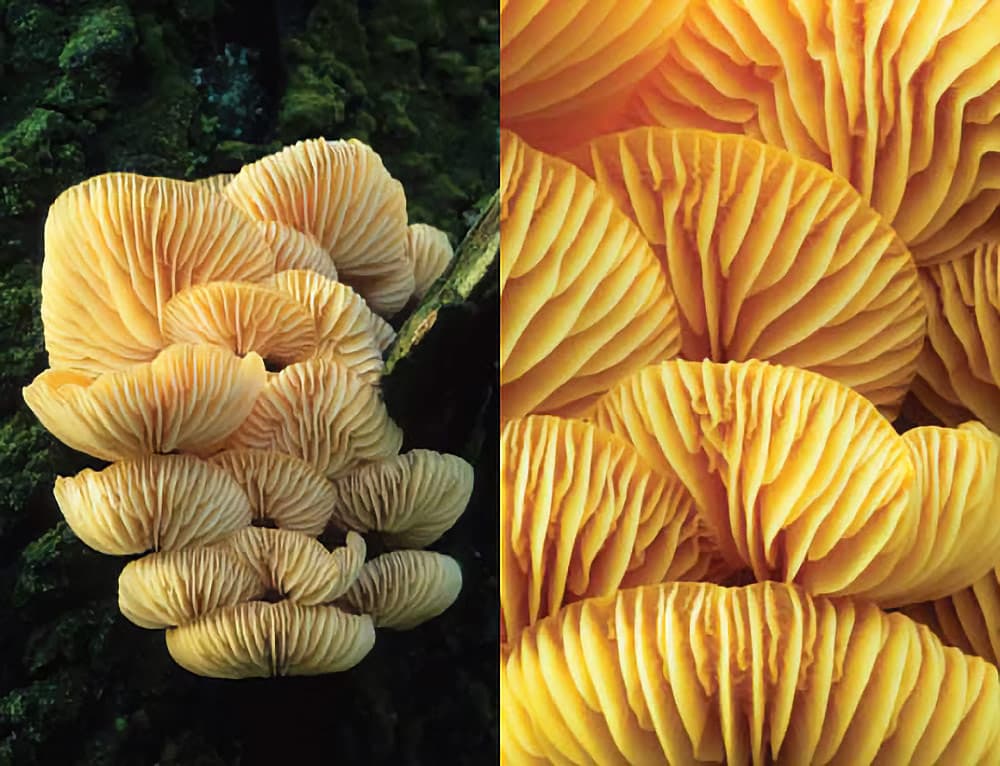
Fungis. Nikon D2X Nikon 105mm macro lens. 1/15sec @ f/11, ISO 100.
Although we can crop things using software application later, it is best to tweak composition in-camera at the time of shooting as much as possible.
With close-up pattern details, guarantee they fill the frame entirely so that there are no spaces around the edges. You can reveal the whole pattern with space all around it.
These two shots of the exact same fungi show how these opposite approaches look in practice.
8. Point of Focus.
It is important to think about the actual point of focus when working close-up with tiny subjects. You can drastically change the appearance by picking where you focus.
These 2 shots of the exact same teasle head were both shot at the exact same optimum aperture, but the point of focus was changed by a number of millimetres to produce a totally various effect.
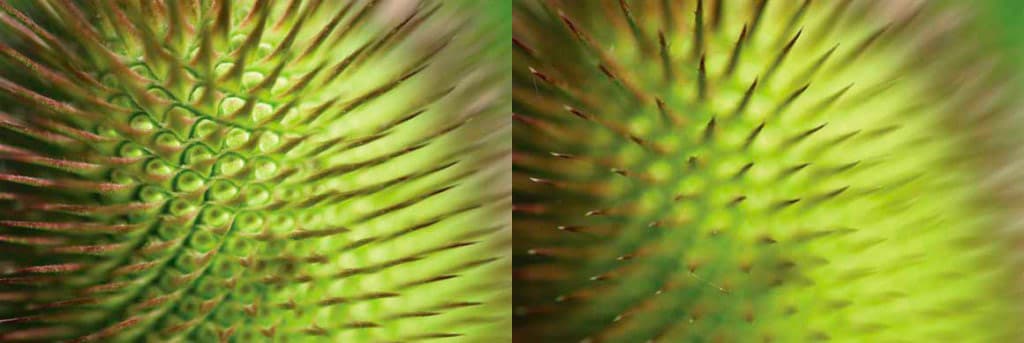
Teasle head (showing point of focus change). Nikon D200, Sigma 150mm macro lens. 1/320sec @ f/5.6, ISO 100.
9. Inspect the LCD screen.
Use your rear LCD screen to guarantee you have got the shot you want before carrying on. Look carefully at the corners to make sure there are no intrusions.
Clean up any unwanted debris in the scene and make sure that your composition focuses on your topic as meant. It’s likewise smart to carry a spare battery, as constantly examining shots will drain power.
If your electronic camera has a tilting screen, this can be an excellent assistance when shooting small low-down things as you can tilt your screen up to offer a better view, without having to crawl on the ground so much.

Amethyst Deceiver. Nikon D200, Sigma 150mm lens. 1/13sec @ f/4.2, ISO 100.
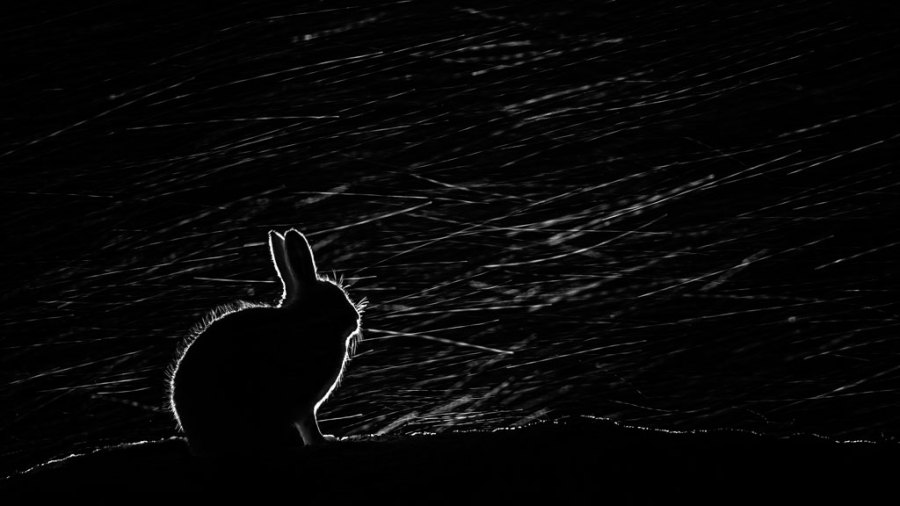
10. Macro Photography suggestions: Raindrops.
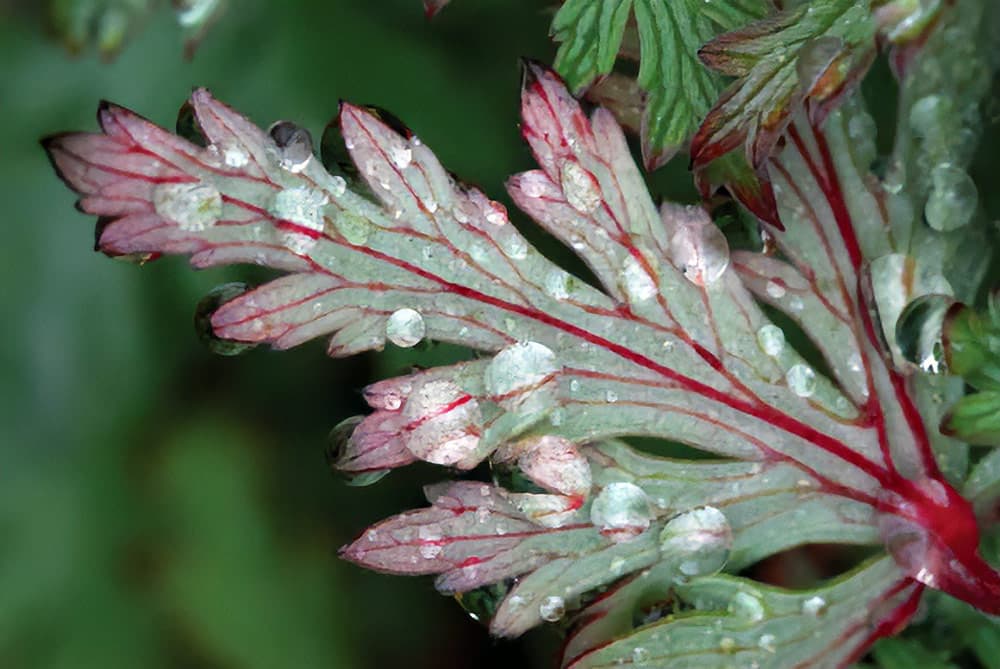
Raindrops on geranium leaf. Nikon D200, Sigma 150mm lens, 1/20sec @ f/16 @ 1/20, ISO 100.
After rain can be an excellent time to search for macro photography subjects when whatever is dripping with beads of rainwater.
Enter near demonstrate how the raindrops function as mini lenses, amplifying the veins in leaves.
11. Various Backgrounds.
Add various coloured backgrounds to macro photography shots to change the appearance of the subject.
These four backgrounds were natural topics however shot deliberately out of focus. Yard was utilized, and tree foliage and a combination of bushes and sky.
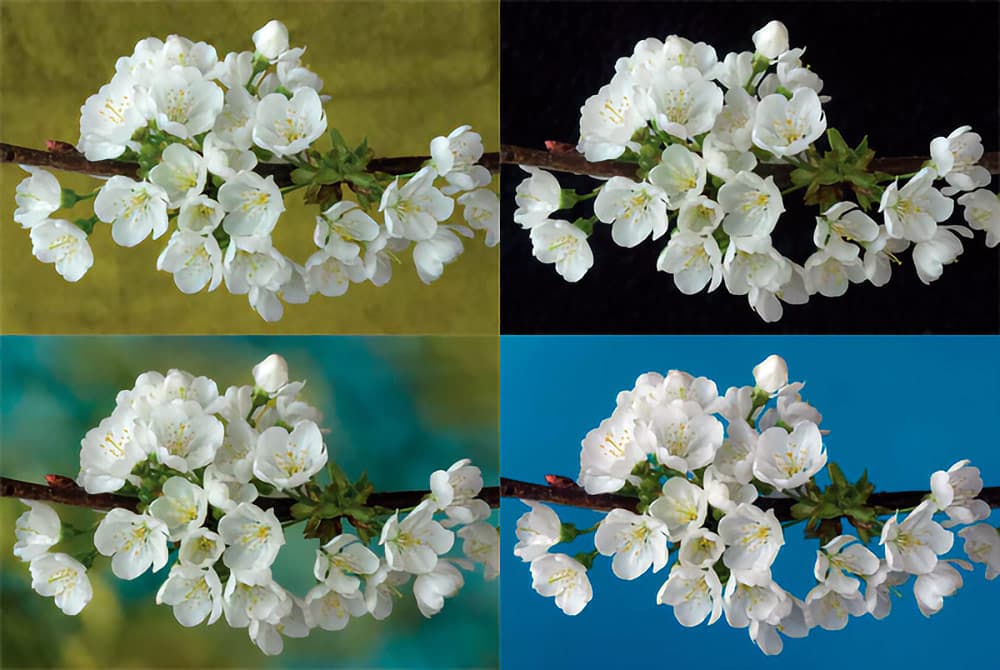
White Cherry Blossom. Nikon D200, Nikon 105mm macro lens. 1/10sec @ f/11, ISO 200.
They were printed to A3 on matt paper so there was less risk of reflection when positioned behind the subject, specifically if a mirror or flashgun was to be used to expose the image.
If you’re not shooting with your own background, it’s crucial to pay attention to what’s in the background of the image, and a subtle change to your electronic camera position can make a huge distinction to how your image looks.
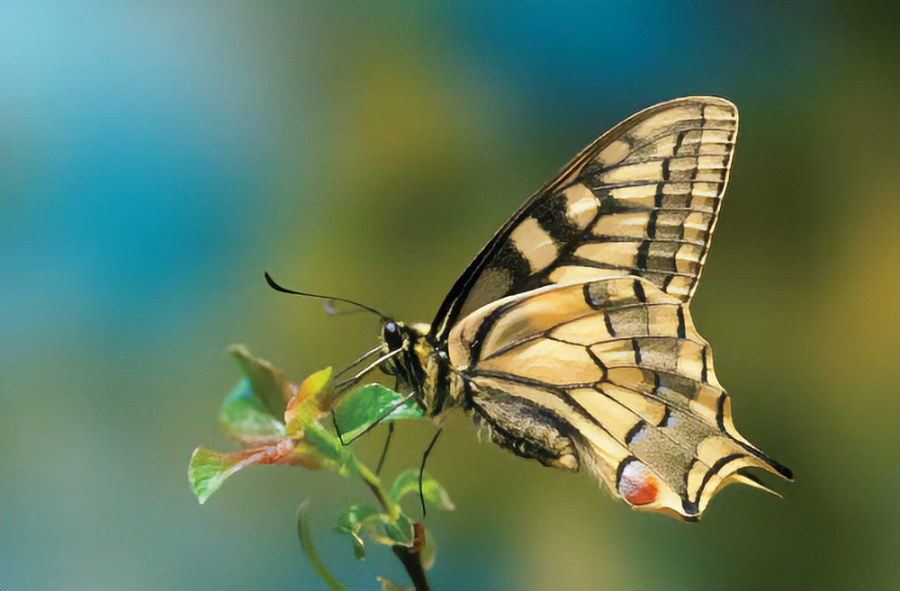
12. Butterflies.

Swallowtail butterfly. Nikon D200, Nikon 105mm macro lens. 1/8sec @ f/2.8, ISO 200.
With small but lively topics like butterflies, it can be hard getting close enough to them for frame-filling macro photography shots.
Try stalking them later on in the day, simply as they are about to calm down for the night, as they will be calmer and move less, or see if there’s a regional butterfly house where photography is allowed so you can practice your shots.
13. Take a look at inspiring macro photographs!
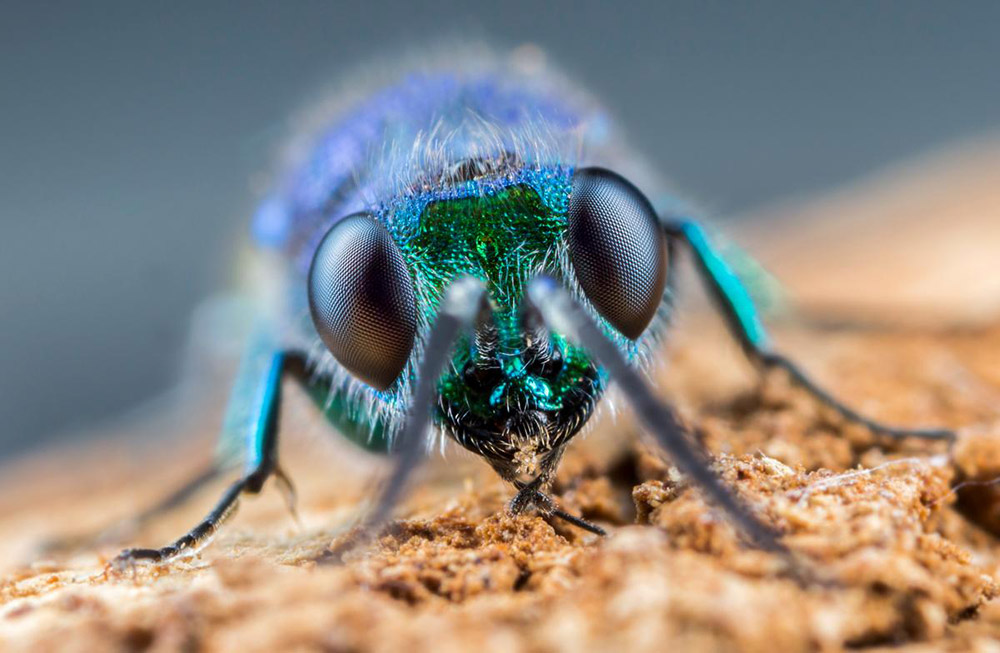
Extreme macro of a fly’s head– Photo: Matt Doogue, see our Top 20 Best Macro and close-up photos!
If you’re searching for more motivation on taking fantastic macro pictures, take a look at some of the great macro images in our round-up of the Top 20 Best Macro and Close-up Photos! Here you’ll discover a large range of develop concepts and different views of the smallest of creatures, and plant life. Whether you’re photographing mushrooms, small plant information, or scary crawlies, there is something for everyone here.
14. Look around you for more macro topics! (including Lego!).

The 12-45mm F4 PRO lens has an excellent close-focus range, Lego figure, 1/100s, f/4, ISO200, 45mm, Photo: Joshua Waller.
We’ve covered lots of different topics for macro photography, however if the weather condition is too cold and grey outside, or you simply wish to have some fun indoors, then want to little figures, figurines, and Lego for some inspiration! Why not recreate your favourite movie scene, or discover the information in the smallest of objects.
15. Think about lighting options.
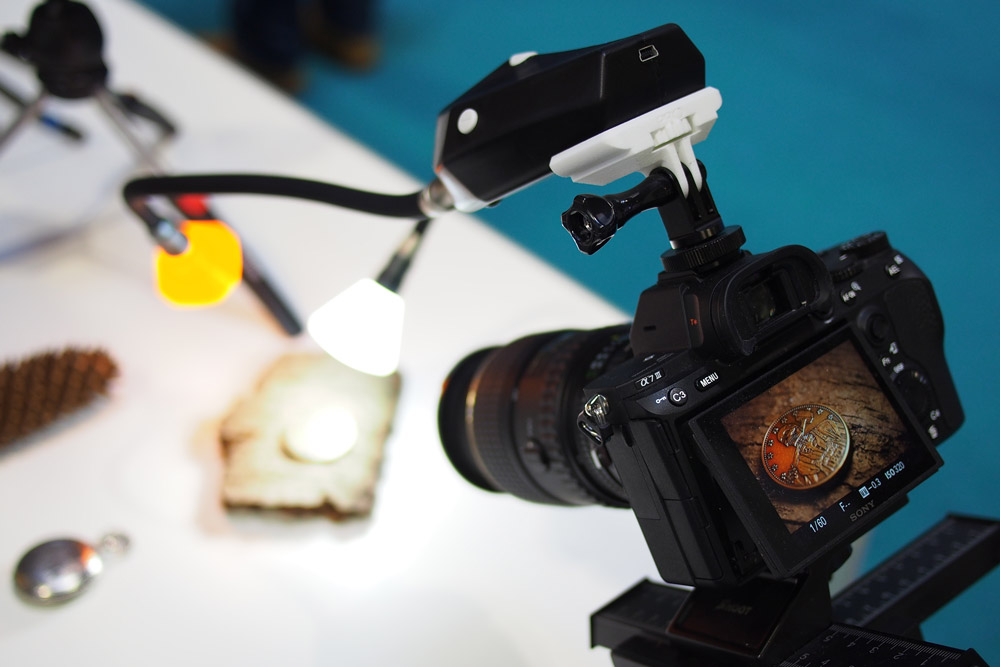
Adaptalux deal unique LED lights that can be used to light little things with different coloured lighting.
If you’re regularly discovering that your macro photos lack pop, then the absence of light might be why. If you want to include extra light, then have a look at the Adaptalux Studio Macro LED lighting set.