If I was permitted to keep only one of my lenses, it would have to be my macro lens. It’s a Nikon Nikkor 105mm f/2.8 Micro lens and probably my earliest lens– so old that it does not have any new-fangled functions like vibration reduction.

The reason why I like it is that it permits me to see things in an entirely different way. As an adult you most likely wouldn’t pick to lie flat on wintry ground to look at a crocus. Add a macro lens into the mix and perhaps you would– simply to see each delicate crystal of ice on the petals. It’s an entire brand-new world of beauty!
Leading 7 Macro flower photography pointers
1. Utilize a tripod
For very low-growing flowers, the use of a tripod can be uncomfortable. I typically lie flat on the ground and brace myself on my elbows.
Snowdrop group shot for macro flower photography– Credit: Sue Bishop
2. Group shot
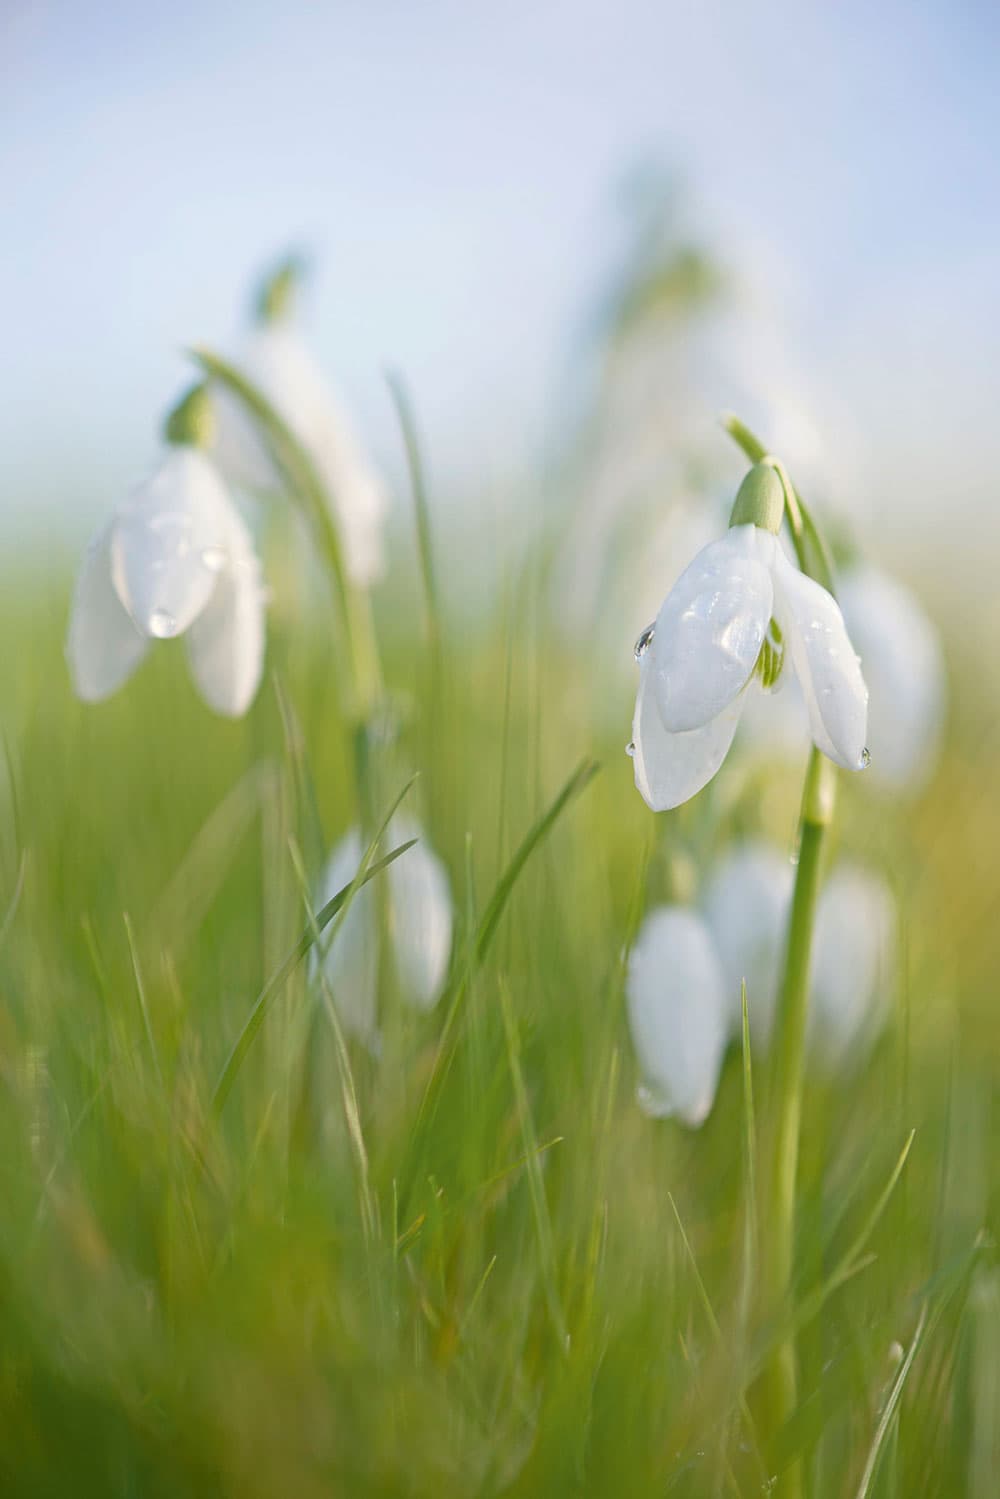
It’s always lovely to photo one flower with others of the same type in the background, using a broad aperture to toss them out of focus. The flowers in the background support the main topic in regards to colour and shape but are soft enough not to sidetrack from the primary flower.
3. What are the best lighting conditions for macro flower photography?
Really typically the very best light for photographing flowers is bright and overcast. Because the light is diffused by a high white cloud, it does not create any shadows. If you do photograph on a sunny day, using a reflector will help to boost the light on the shadowed side of the flower.
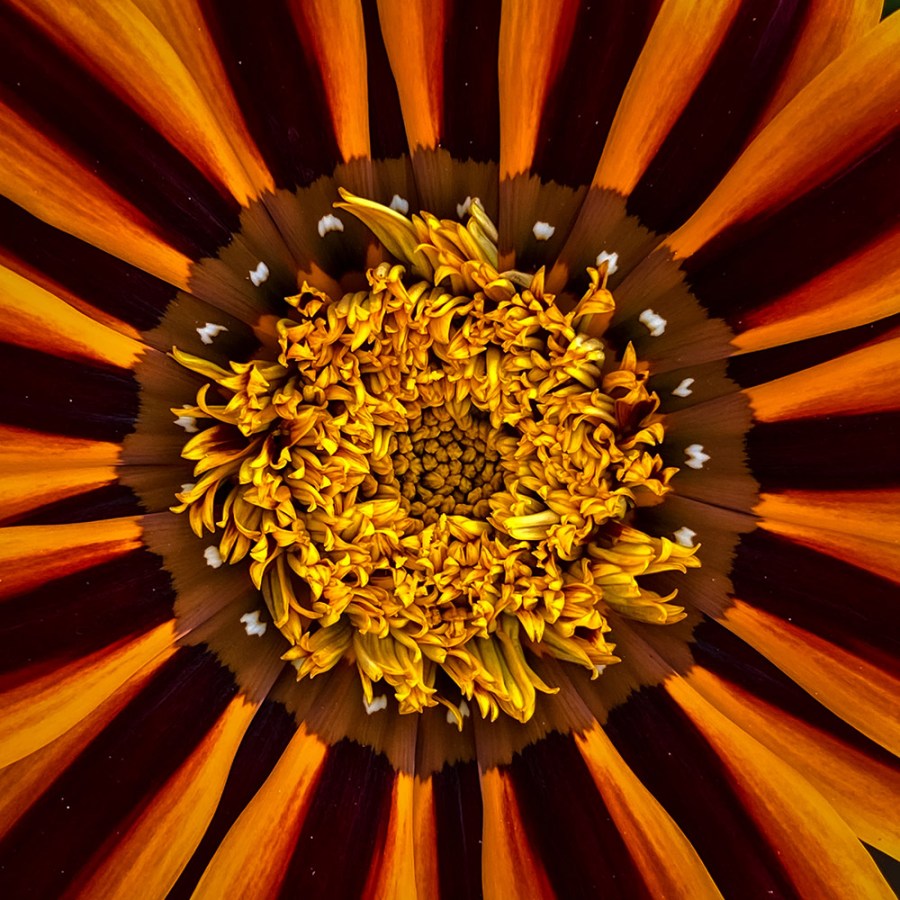
Innovative cropping of a tulip– Credit: Sue Bishop
4. Imaginative cropping
It’s likewise fun to photograph just part of a flower, cropping right into it so that the petal edges are cut off. Ensure though that your crop looks definite enough to come across like it is clearly intentional– if you just crop off a number of petal tips, it might just appear like a mistake.
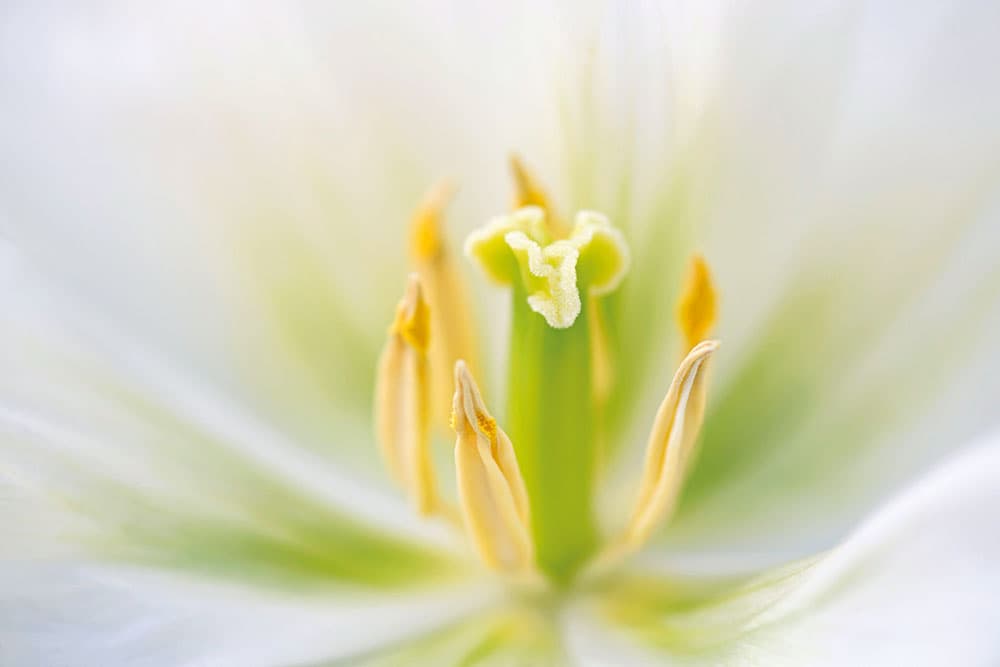
Shooting in close proximity to your topic will decrease the depth of field significantly. Credit: Sue Bishop
5. Focus manually
When you are working on close-ups, your depth of field will be extremely shallow, particularly at your best aperture. So it’s important to choose precisely which part of the flower you want to be sharp. To accomplish this, manual focus is best, and live view can assist you check that you’ve got it completely.
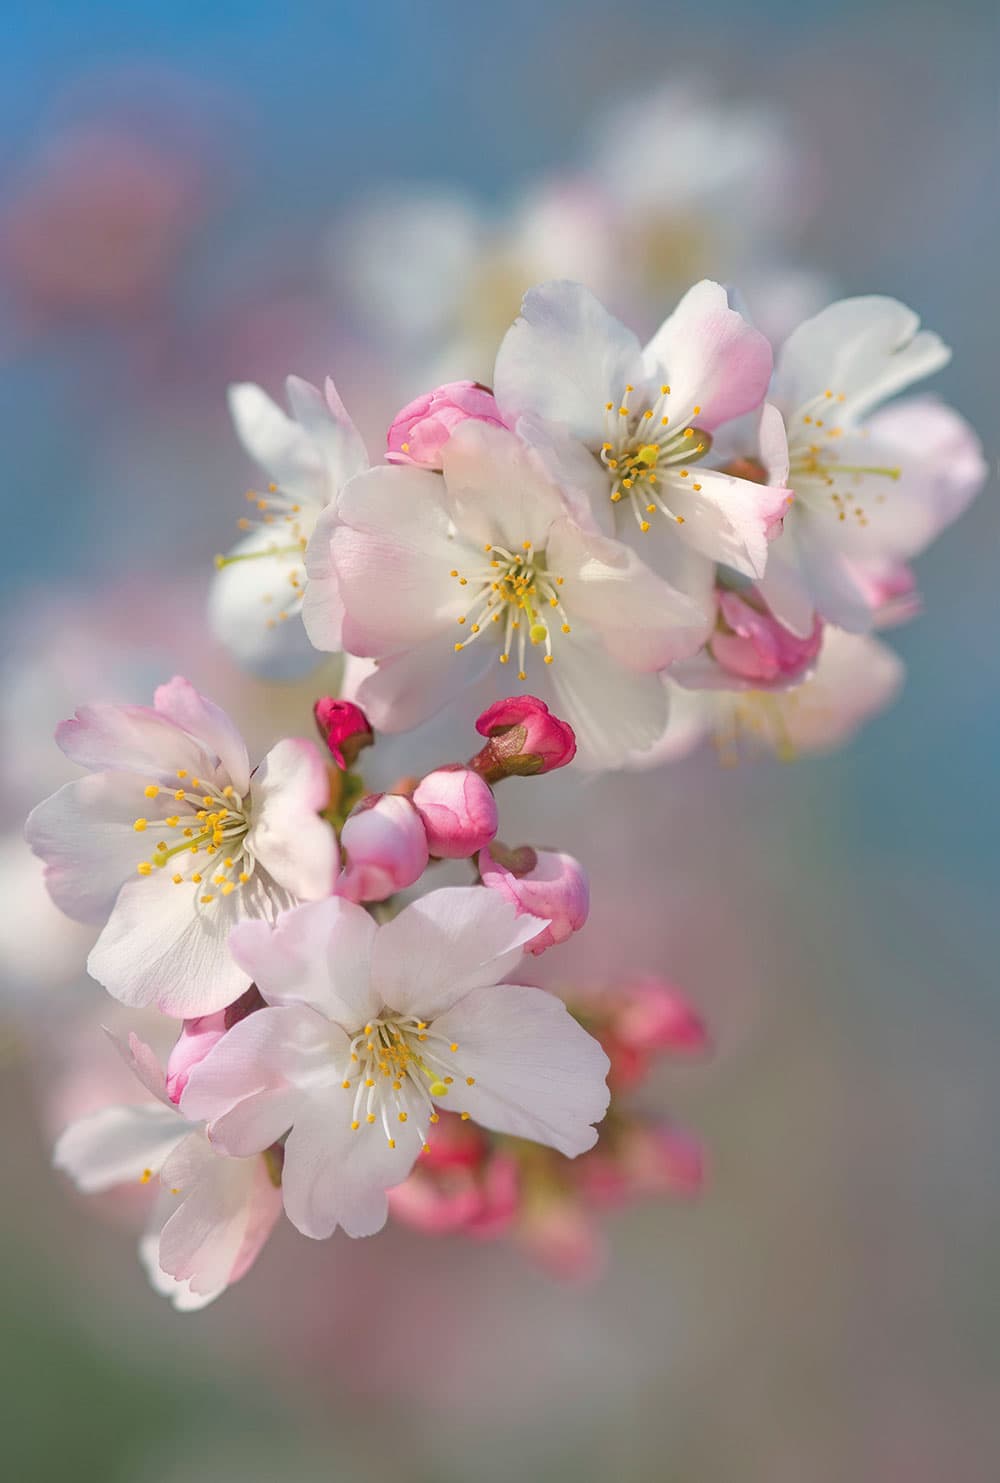
Cherry bloom. Credit: Sue Bishop
6. Consider your backdrop
If you fill the frame with your flower, you won’t need to worry about backgrounds. However if there is a background in your image, make certain it isn’t distracting. Prevent intense colours, specifically if your topic is a paler colour. If the background is untidy, use a broad aperture to toss it out of focus.
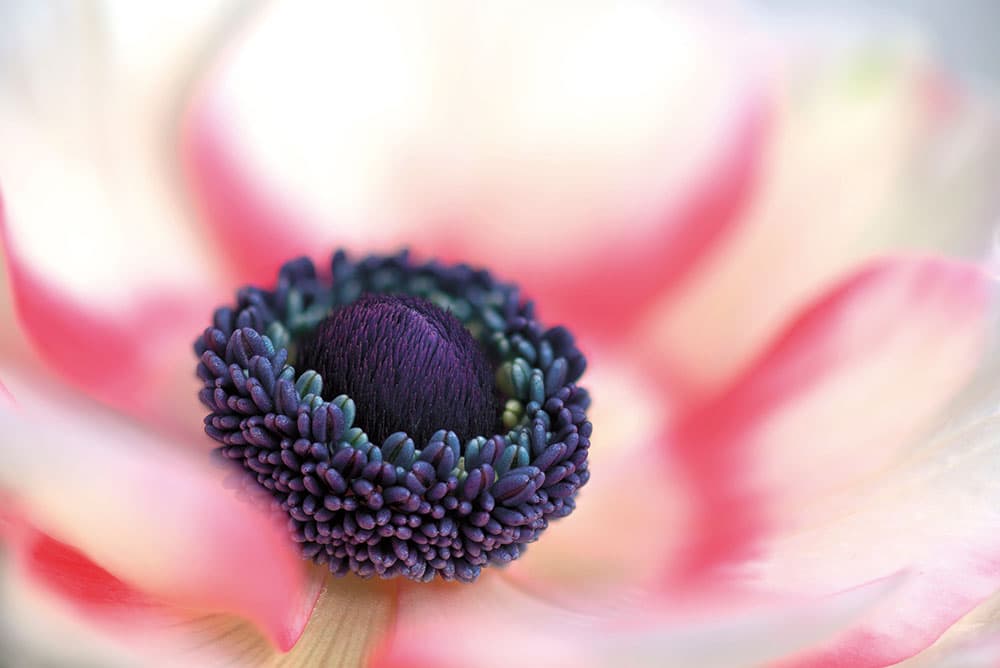
Filling up the frame with a polyp. Credit: Sue Bishop
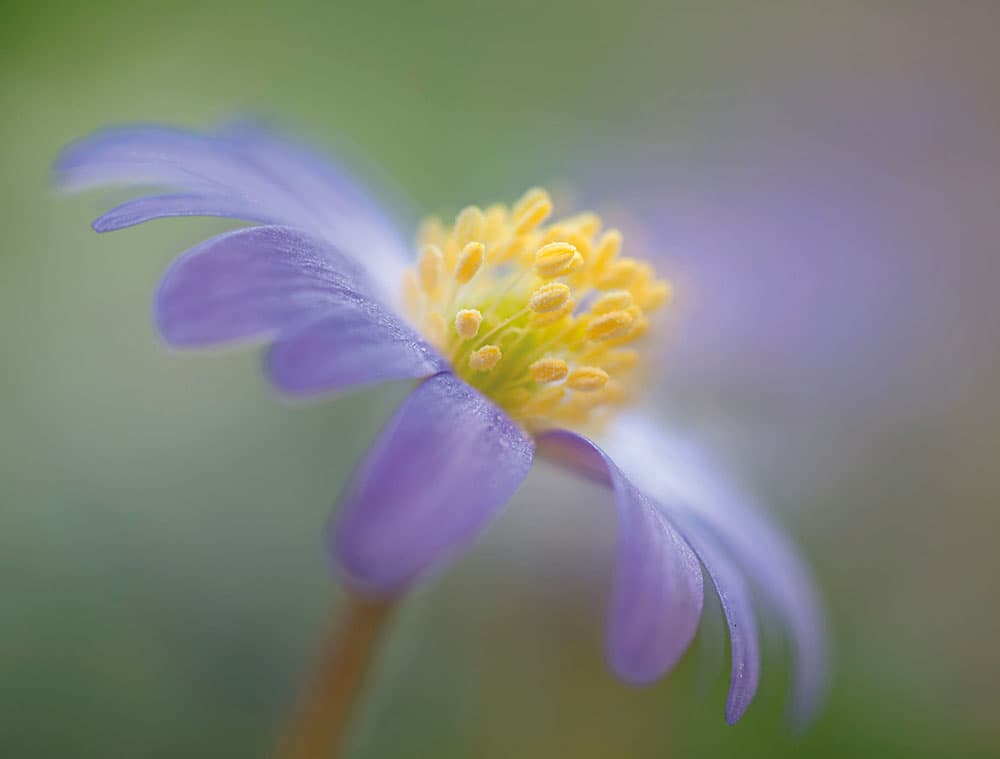
7. Viewpoint
Think about your perspective. It’s often excellent to get down to a flower’s level and approach it from the side, rather than looking down on it from above. Check out your viewfinder as you move around– every tiny modification in your angle to the flower will affect the image drastically.