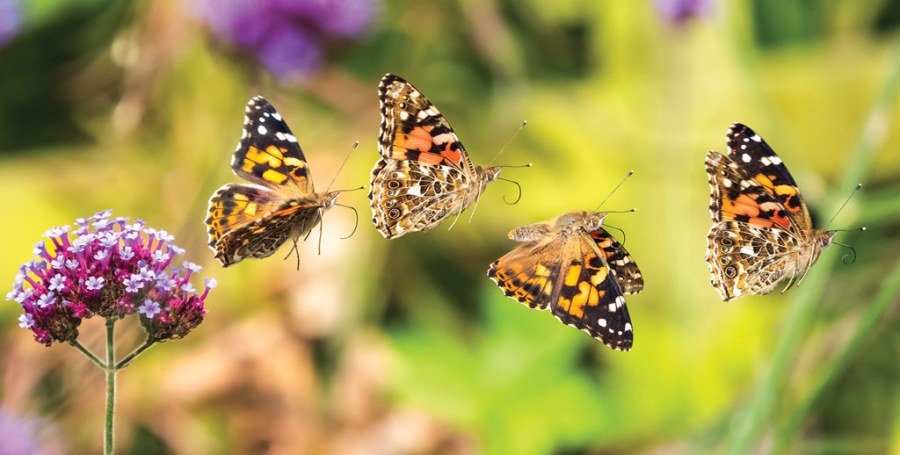
Bird photography with the OM System OM-1– Amateur Professional photographer’s Online Editor, Joshua Waller, and Deputy Online Editor, Jessica Miller spent a day photographing birds with OM System’s UK Wildlife Ambassador, and AP Zoom Photo Tours guide, Tesni Ward, with the OM System OM-1
Tesni Ward on photographing birds with the OM-1
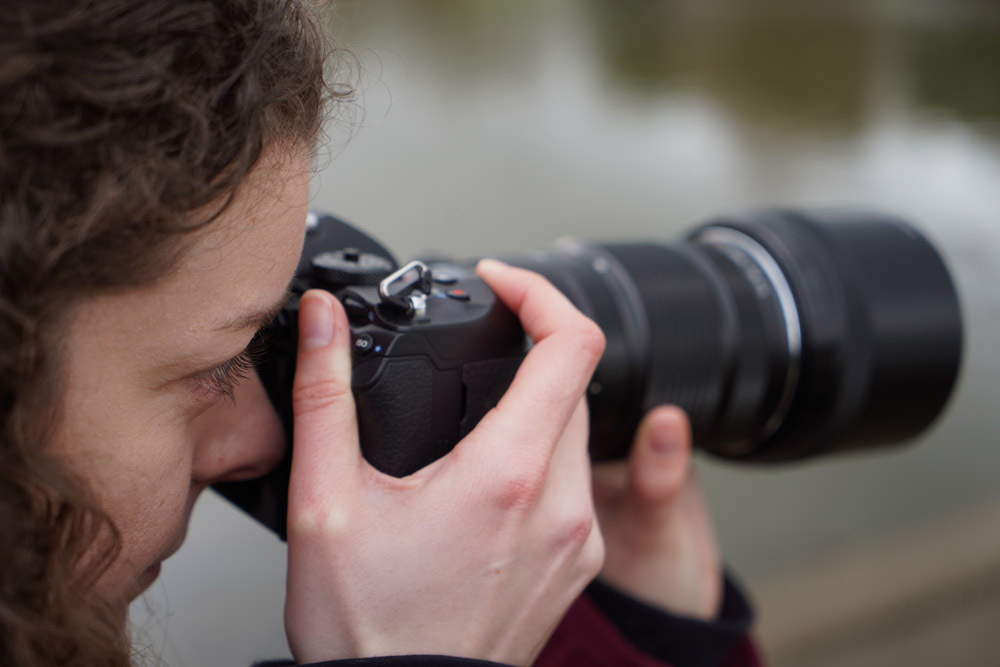
Tesni Ward using the OM System OM-1.
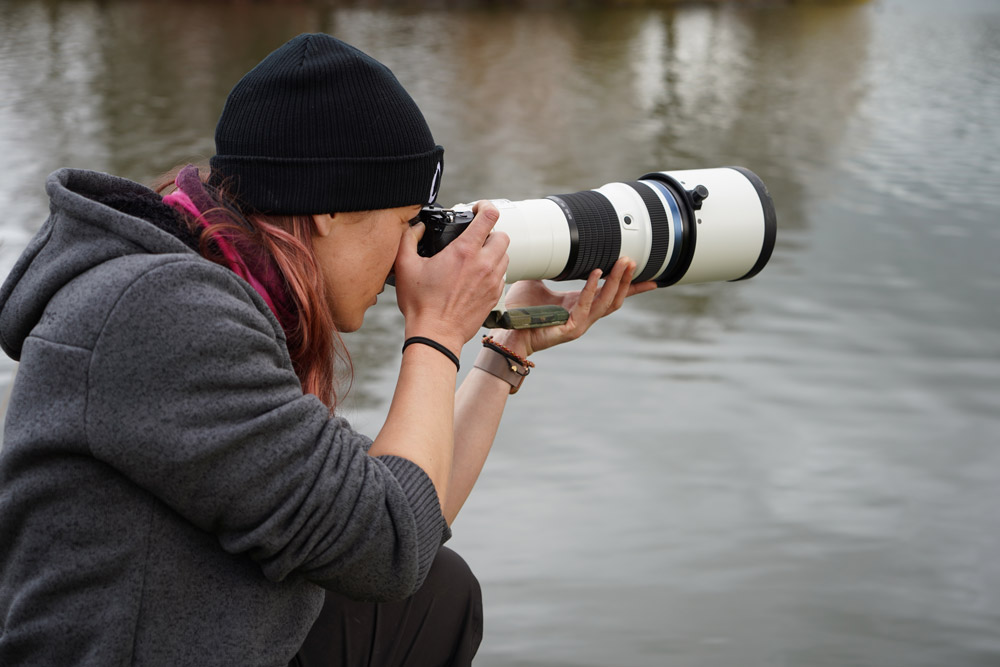
Utilizing the OM System OM-1 which is usually fitted with the M. Zuiko Digital ED 150-400mm f/4.5 PRO zoom, Tesni likes that you can customise the video camera for your own shooting requirements. With the OM-1 (now with firmware v1.5), Tesni has actually noticed much faster, and more responsive autofocus (AF), along with notably improved bird tracking, which discovers and locks on to the bird’s eye.
Tesni likewise found the blackout free shooting, at approximately 50fps with C-AF, extremely useful for tracking moving subjects. This shooting rate is with full-size Raws too. The viewfinder is also substantially enhanced, providing a great view, and the enhanced weather sealing is of particular advantage when shooting in severe conditions. The camera is also simple to use when using gloves.
Tesni has actually invested a lot of time watching and studying birds, and states the best way to see them remains in the real world, so you can see and hear them, and discover their behaviour. This will assist you understand when something (like flight, flapping, etc) is coming so you’re ready to take the shot.
Leading settings to utilize when shooting wildlife with the OM-1:
Establish a customized mode for particular shooting situation e.g. birds
Customise buttons to provide quicker access to the AF modes needed
Personalize the burst rate to suit you, and make sure you know your cam before shooting
Ensure the shutter speed is best for the kind of shooting, and use burst mode so you’re prepared to shoot whatever happens
Blackout free 50fps C-AF is amazing for tracking animals in the frame
Olympus/ OMDS cams are really customisable, which is fantastic, but can be confusing if you don’t know the cam, and it’s worth exercising prior to shooting
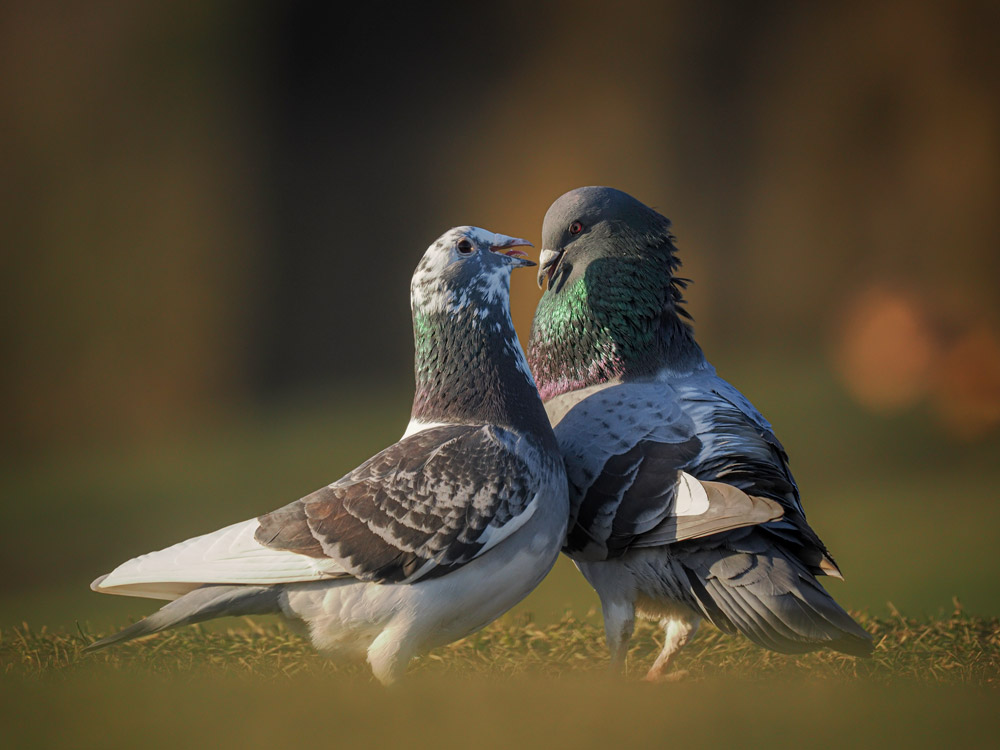
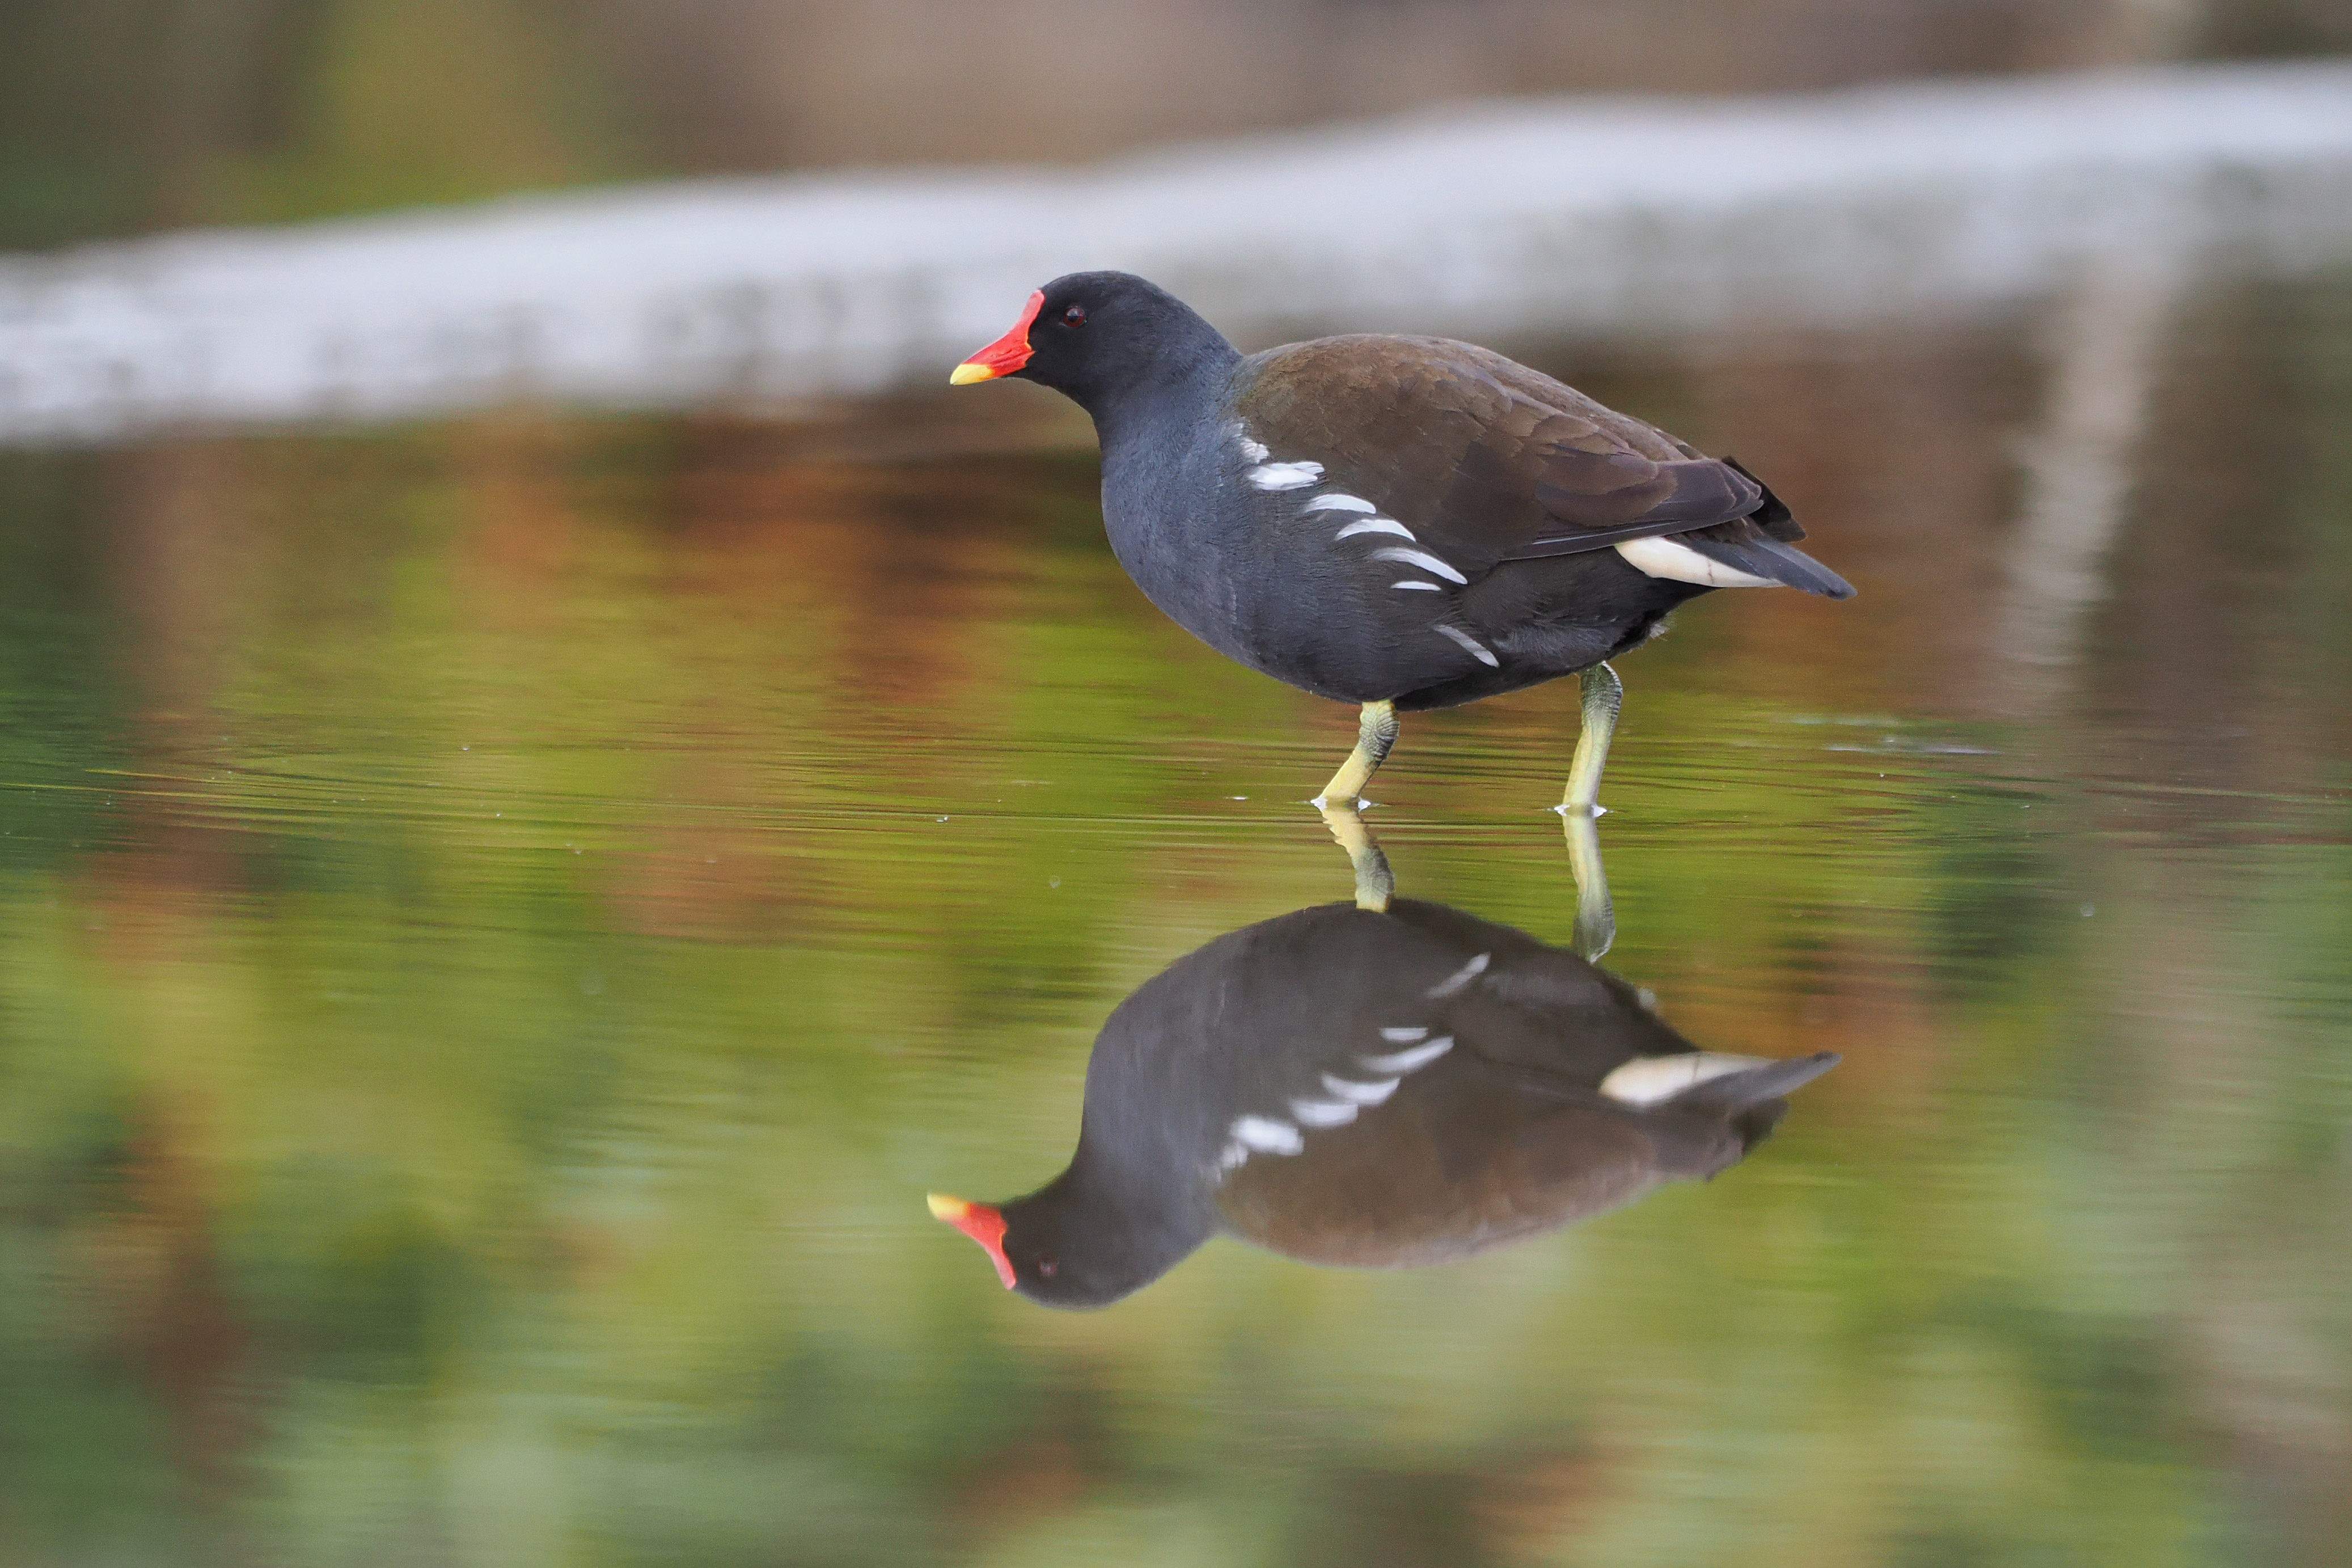
OM System OM-1, 150-450mm at 207mm (TC off), 1/800s, ISO3200, f/6.3. Image credit: Tesni Ward

Top ideas for shooting birds and wildlife:
Look for background colour, and avoid interruptions such as brightly lit tree trunks and reeds
Be gotten ready for bad weather condition, try to find areas where you can get better colour including interest into the background
View the weather condition, as blue skies and bright sun can be too extreme and make photography hard
Understanding your topic assists, so you can get ready for when they will fly, flap, or duck under water
You can constantly crop in post however can’t un-crop if you’ve used excessive zoom
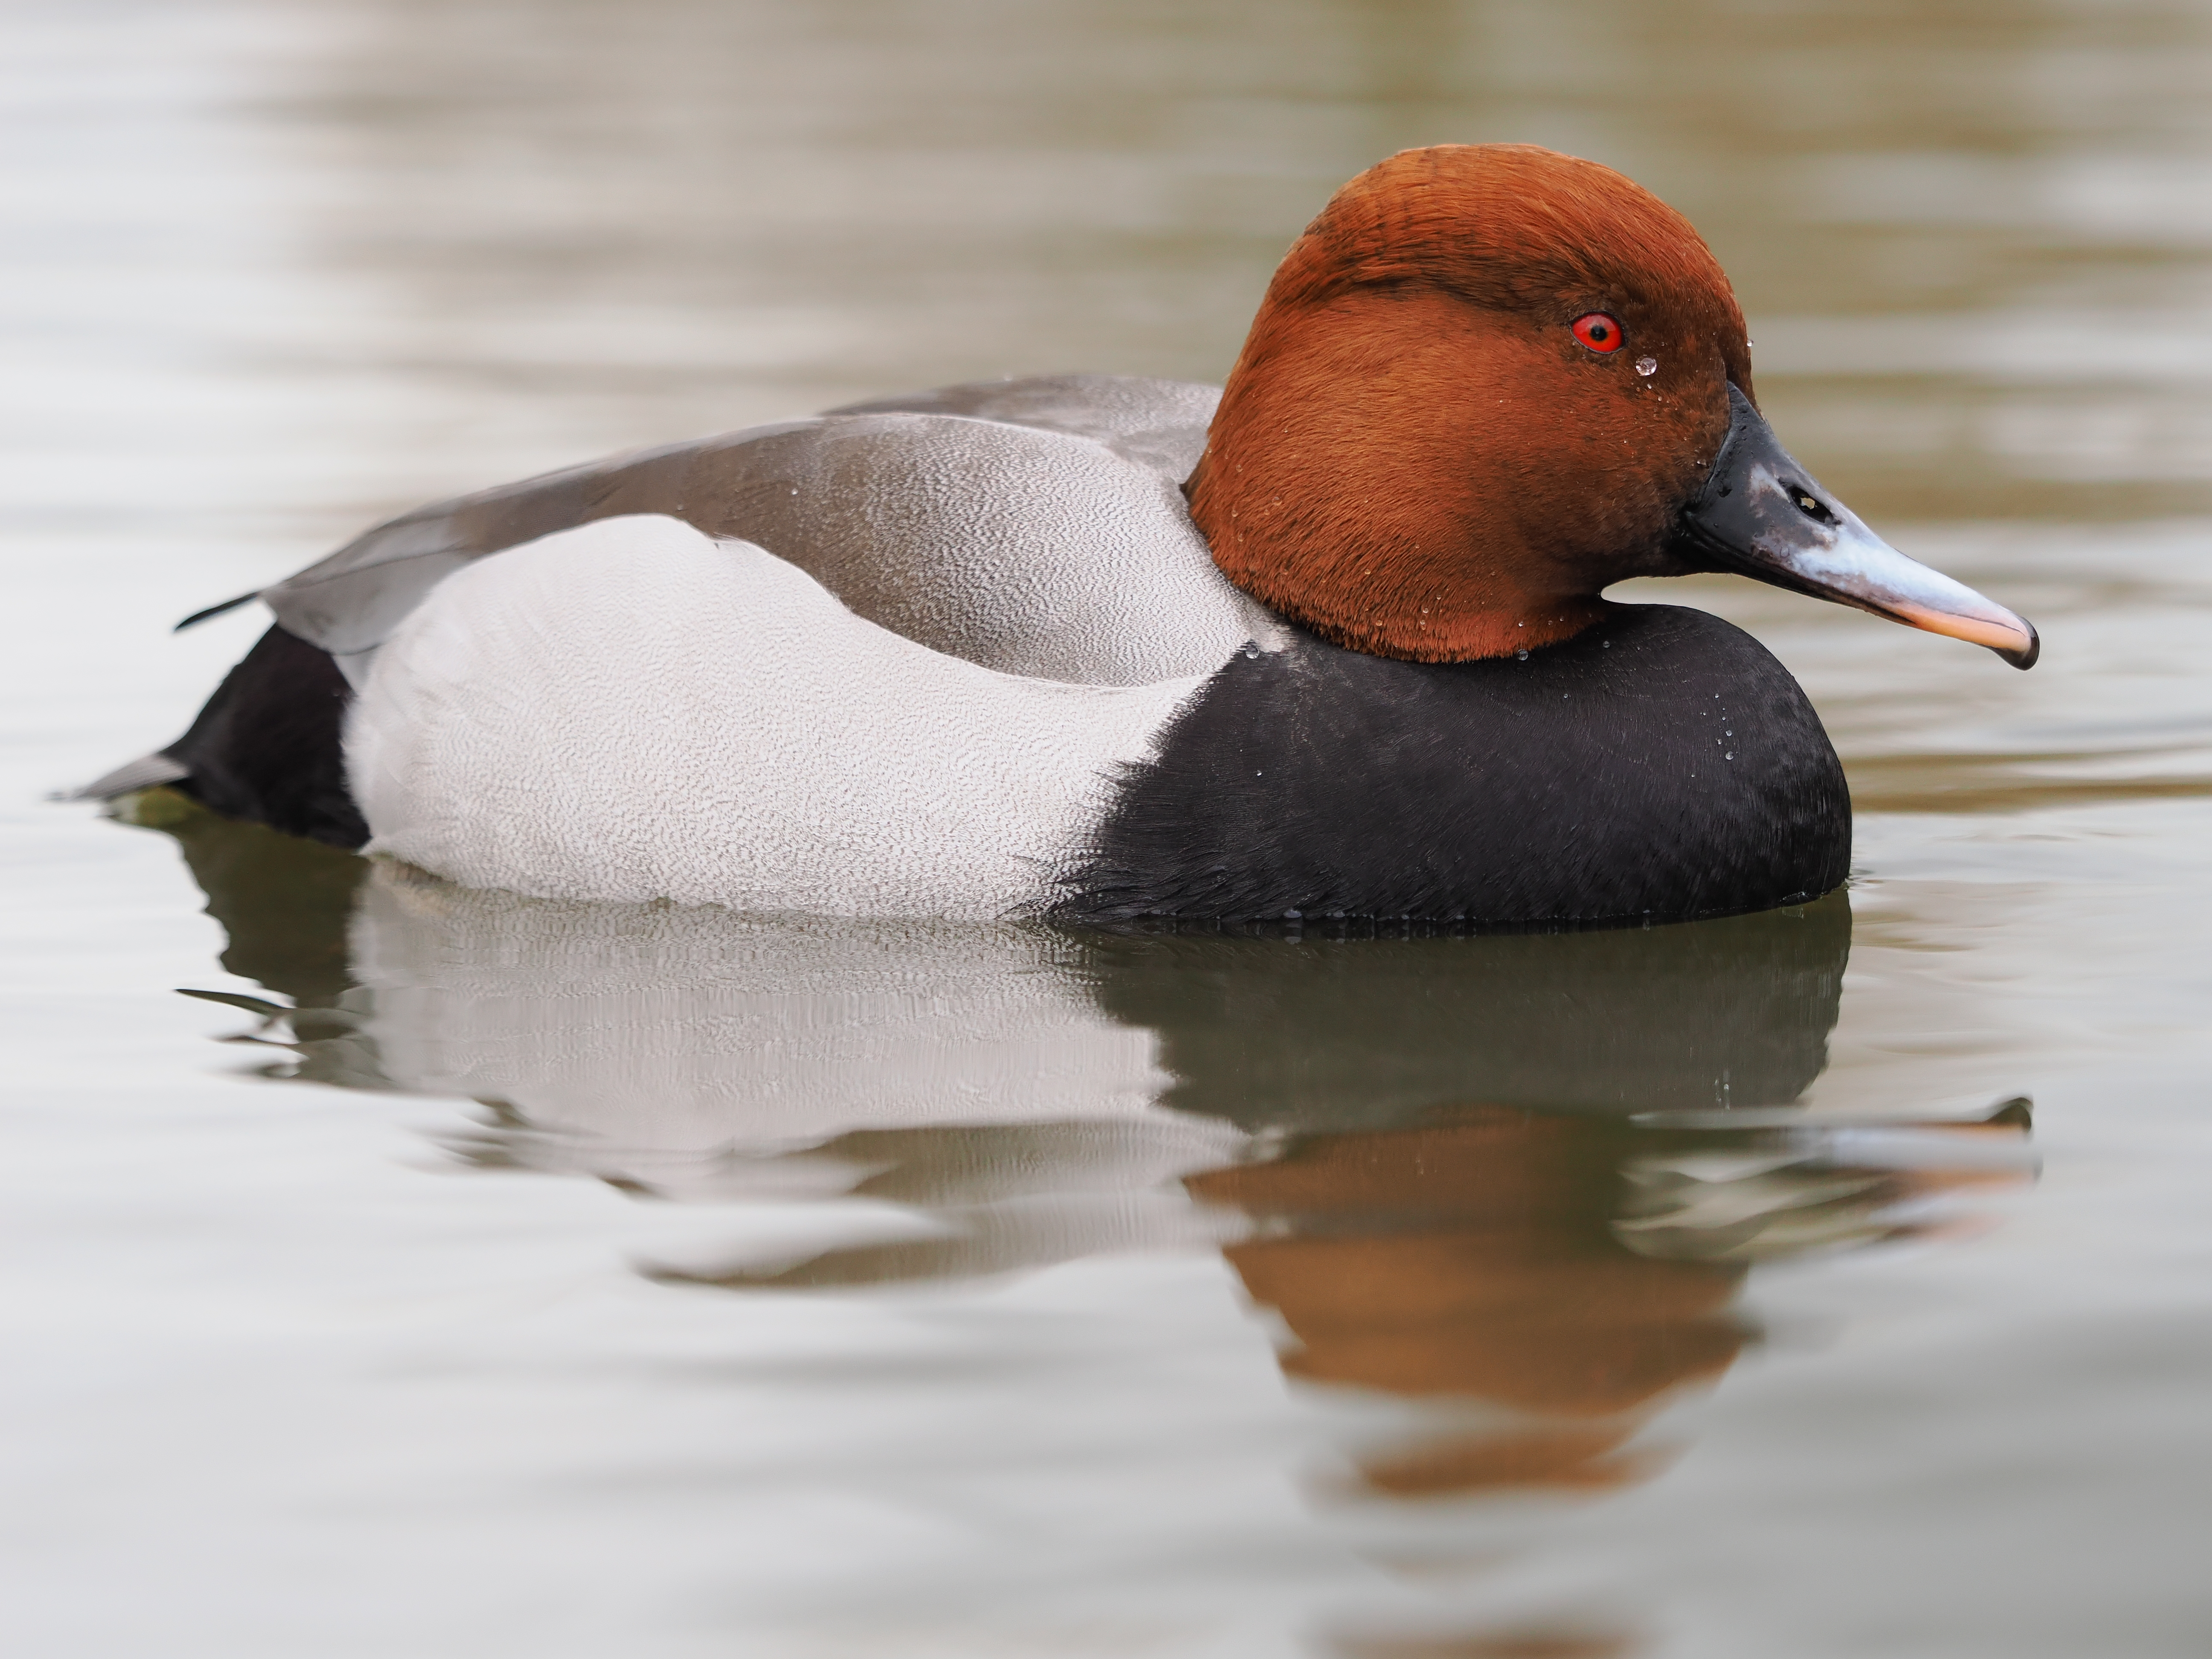
OM System OM-1, 150-450mm at 400mm (TC off), 1/1250s, ISO500, f/4.5. Image credit: Tesni Ward
Join Tesni Ward on an AP Zoom Tours event
Tesni Ward is running a variety of different image holiday trips with Amateur Photographer and Zoom Photo Tours, and you can get great guidance from Tesni, along with the chance to shoot a number of various birds and wildlife.
Great deals of terrific tips for how to shoot birds in movement, including how to keep the cam stable and smooth while shooting.
Learn more here.
Joshua Waller photographing wildlife with the OM System OM-1
The vari-angle touchscreen makes it easier to contend low-angles
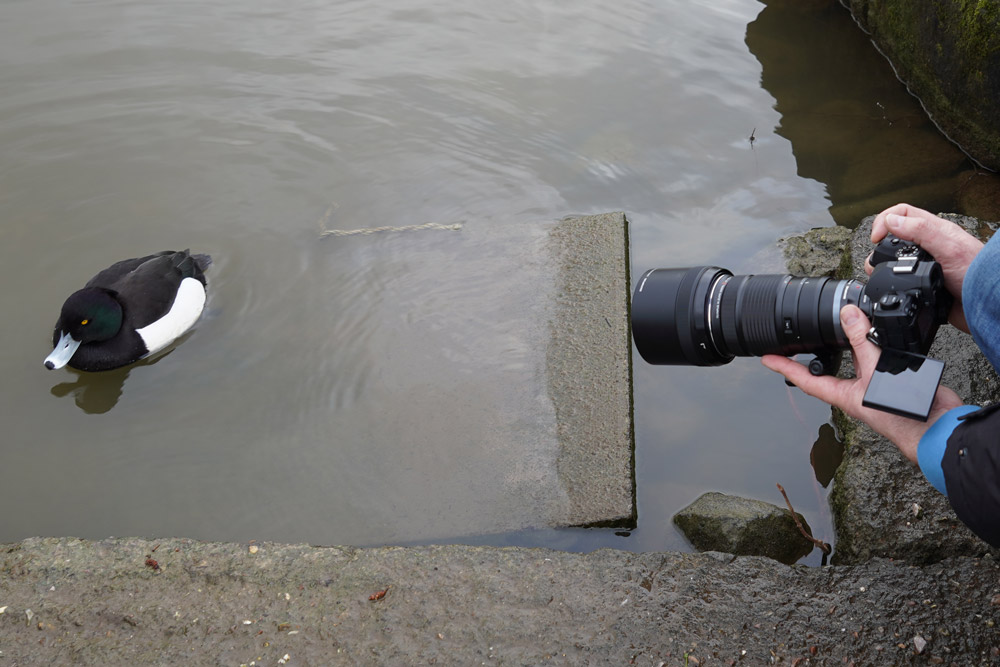
Utilizing the OM System OM-1 for bird photography was especially simple, once the camera’s Bird Detection AF was correctly setup. This was triggered using the camera’s menu, however quicker access to this setting is possible by personalizing the electronic camera’s function buttons.
To fine-tune drive settings, in the menu, go to the green Camera 1 icon and scroll to page 7 entitled Drive Mode. Under ‘Sequential Shooting Settings’ you can set up frame rates in the various drive modes as well as limitation the number of frames you get in a burst.
Shooting numerous frames so rapidly suggests you need to fill up with the fastest SD cards you can afford to keep buffering to a minimum. The current fastest SD cards have quoted write speeds of around 250MB/s although in practice you might not get such performance. Even with fast cards you require to handle your buffer, so don’t overshoot or you might miss out on a great image since your long series of shots is still writing to card.
The camera has an AI (Artificial Intelligence) autofocus system that can discover different subjects including aircrafts, animals, motor vehicles, trains as well as birds. There’s likewise face and eye detection. This integrated with the Quad-pixel AF system, with 1053 AF points covering the sensor, makes for an incredibly fast AF system, that can operate at speeds up to 50fps in SH2 mode with continuous AF tracking– with particular Olympus PRO lenses.
AF settings for subject detection on the OM-1
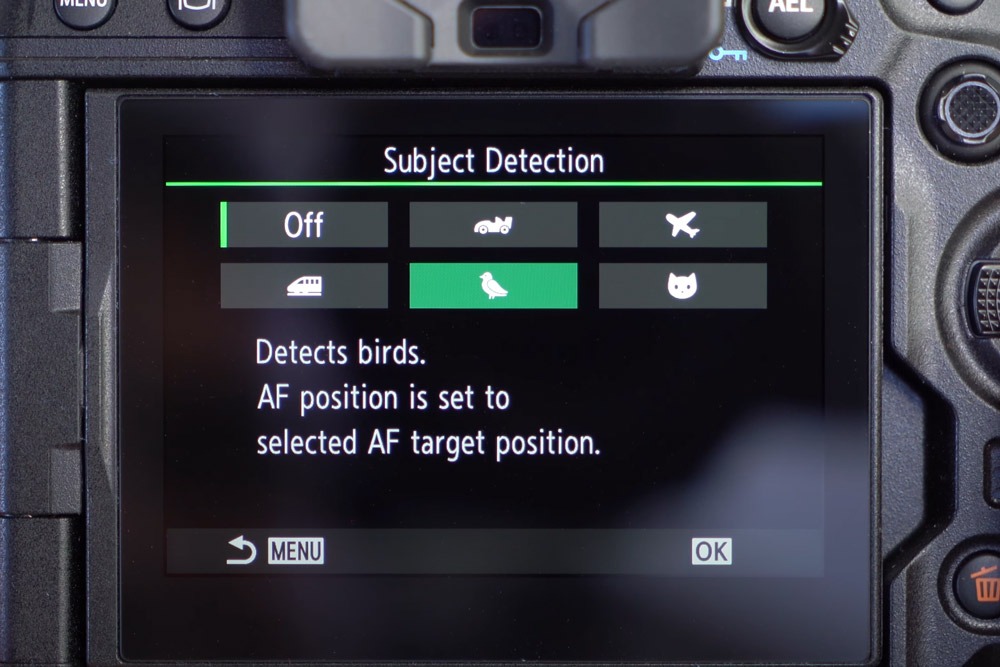
How to customise and setup Bird Detection AF on the OM-1
In the Menus– you can discover the settings in the AF area, or you can likewise include “Subject Detection” to the MyMenu area for quicker access
You can setup a custom button so that you can quickly alter the subject detection, by pressing the button and scrolling through the choices using a command wheel
Inspect your constant shooting mode, you’ll require SH2 which makes it possible for continuous AF and metering, and not SH1 (incredibly high-speed)– SH1 sets AF to fixed/ single-AF, instead of constant. SH2 quits to 50fps with specific PRO lenses.
Check your AF setting is set to C-AF + Tracking
You’ll have the ability to see the tracking appear in real-time on the screen when the video camera identifies the subject
OM System OM-1, 40-150mm f/2.8 with 1.4 x TC, 210mm, 1/500s, ISO1250, f/4– Click to view full-size JPEG picture. Image credit: Joshua Waller
Shooting wildlife with the camera, and in this case, birds, was particularly outstanding, as the video camera’s bird detection AF system is extremely fast, and trustworthy, locking onto the bird’s eye, even when the bird was dark in colour. The cam likewise offered sharp detailed images, even when shooting wide-open at f/4 with the 40-150mm f/2.8 PRO lens and 1.4 X Tele Converter.
Jessica Miller photographing wildlife with the OM System OM-1
Jessica Miller using the OM System OM-1
I bought my DSLR as a last year college student just entering into photography. I’ve had a lot of time to be familiar with my camera well, so it’s rather challenging to use a different system, particularly a mirrorless system. When the chance to try out the OM System OM-1 came about, I was delighted to attempt a brand-new system to me.
OM System ‘Olympus’ OM-1 IP53 weather-sealing can be found in helpful
On the day I took my DSLR camera along to the shoot with Tesni– I definitely saw the distinction when I changed between the 2. The size and weight. Having the ability to hold and grip the cam easily is quite a crucial aspect for me, and I also like to bring my camera around any place I am.
The OM-1 body is far more compact than the DSLR, so general was easier to deal with. My electronic camera with an 18-135mm lens attached together weighs over 1.1 kg (the body alone is simply under 700g). Whereas the OM System OM-1 body on its own weighs 599g– with the 40-150mm f/2.8 lens and 1.4 x TC we were utilizing, weighs around 1010g.
There isn’t much distinction between the numbers here, including an equivalent lens on the DSLR would it a substantial video camera to carry around. Having less weight on your shoulders certainly feels more attractive.
OM System OM-1, 40-150mm f2.8 with 1.4 x TC, 90mm, 1/640s, ISO640, f/4– Click to see full-size JPEG image. Image credit: Jessica Miller
Another aspect I would be searching for in a new cam would be how easy it is to discover and utilize. On this workshop we established the Bird Detection AF mode– which was a simple procedure, and the menu itself was very user-friendly and well designed. The Bird Detection AF mode was especially valuable in our scenario and quick to operate and focus, ensuring we got sharp shots whether the bird was stood still or in flight.
OM System OM-1, 40-150mm f/2.8 with 1.4 x TC, 110mm, 1/500s, ISO1250, f/4– Click to see full-size JPEG picture. Image credit: Jessica Miller

I attempted utilizing my DSLR for photographing the same birds, and the video camera felt slow and clunky after utilizing the OM-1. In general, I was extremely amazed with the system and the versatility this cam might have throughout different genres.