This is your total guide to landscape photography– from what landscape photography is, what package you need, what electronic camera settings you must be taking a look at, to what aspects enter into taking and making terrific landscape pictures, including light, composition, editing, competitors and more!
What is landscape photography?.
Landscape photography is the art of catching the natural surroundings or landscape. It can be your method of demonstrating how you see the world around you, and a way to catch the beauty of the landscape and environment, whether that’s regional, or when taking a trip.
Landscape photography is everything about light, area and composition, where you place items or frame the scene before you, but likewise what video camera settings you utilize, play a fundamental part in getting a sharp, in-depth shot.
Camera settings for landscape photography.
Remember the elements that comprise your exposure: aperture, shutter speed, and ISO speed, as there are some suggestions here that will help you when shooting landscape photography. If you require a refresher, have a look at our guide to exposure.
Here are the 4 main video camera settings to take notice of in landscape photography:.
Aperture.
ISO speed.
Shutter speed.
Focus.
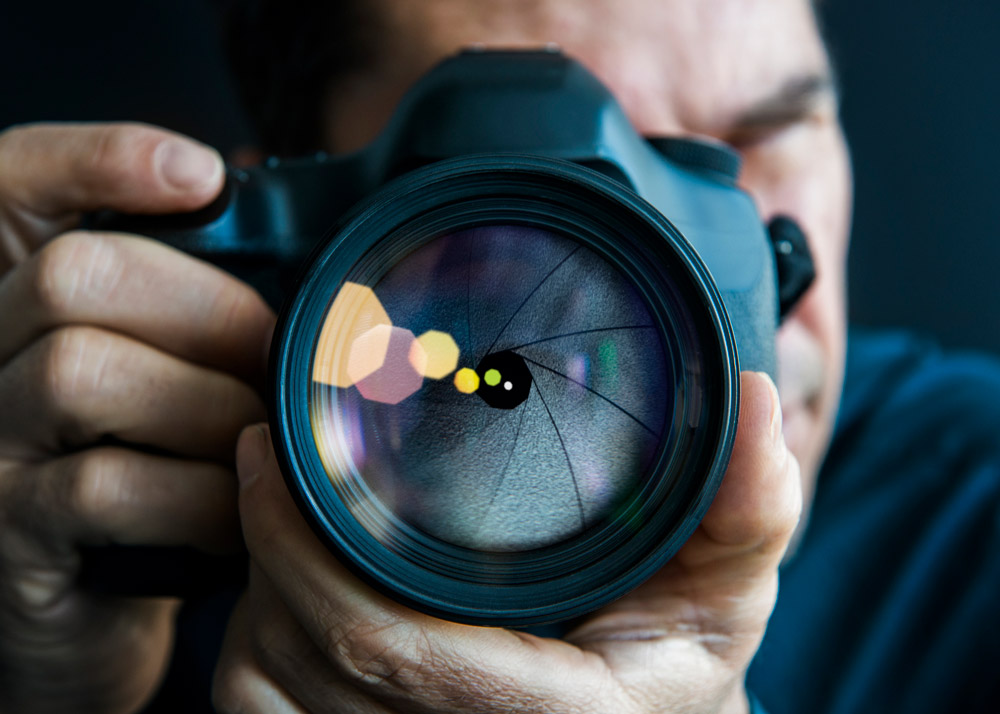
Close-up of the lens, showing aperture blades. Credit: Dimitri Otis, Getty Images.
Aperture and depth-of-field.
Depth-of-field — to ensure you get a great deal of the scene in focus, with as much as possible sharp and in focus, with lots of detail, you’re going to want to use a smaller sized aperture. Closing the lens aperture to f/8– f/16 will assist you get more of the scene in focus from the front of the image (things near to you) to the back of the image (things furthest away). This is known as pan-focus ( Canon), where everything in the image is in focus.
Beware of diffraction– if you stop the aperture down too far, such as f/18-f/22 or more you’re going to suffer from diffraction, and get softer images. When diffraction becomes a concern depends upon your video camera sensing unit size– see our macro photography guide if you missed our definition of diffraction.
Side note: Diffraction tends to begin at f/11 on Micro Four Thirds, f/16 on APS-C, and f/22 on Full-frame electronic cameras.
ISO speed.
As we’ve stated formerly, the most affordable ISO speed readily available will offer you the best outcomes (with the most information, and most affordable noise), nevertheless, know that the cam you use might have a various low ISO speed to another camera.
On many, the lowest ISO speed is ISO100, however on some the lowest is ISO200. If you are lured to utilize a “LOW” or (L) ISO speed on your electronic camera, know that this is typically an “prolonged” ISO speed, and results in reduced vibrant range.
Examine what your real low ISO speed is on your cam, if you’re not sure where to find this information, have a look at our review of your cam as it will state what the standard ISO variety is, and what the extended ISO range is. Generally you want to prevent using the extended ISO variety.
On many Olympus and Panasonic cameras, the low ISO speed is ISO200, and ISO100 is extended, which is revealed as “Low” or L. 100. You’ll likewise require to examine Fujifilm cameras, as a few of these have the lowest (native, non-extended) ISO speed as ISO160.
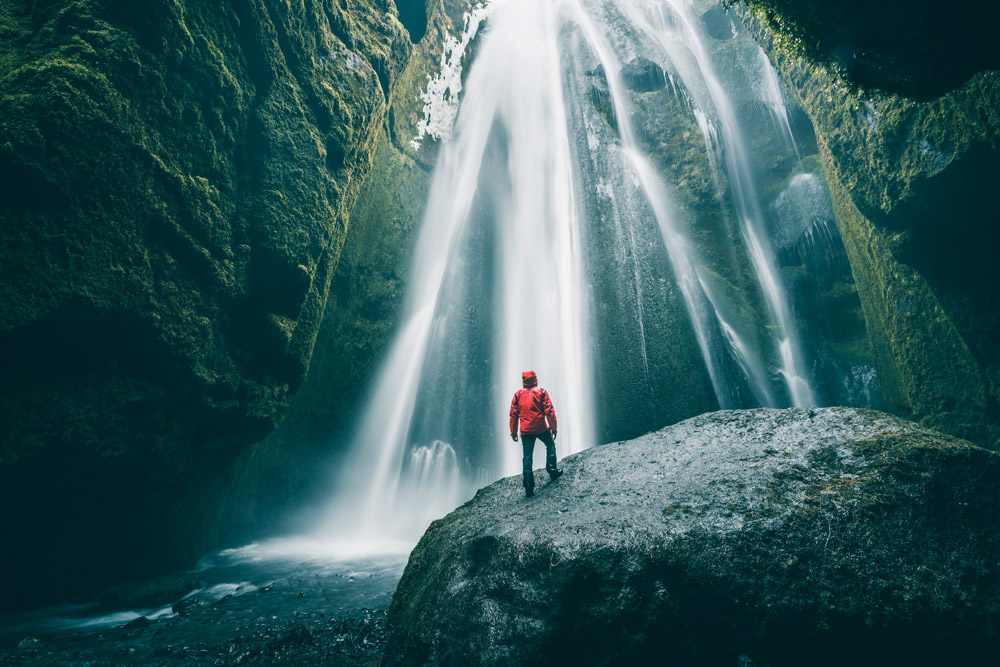
A slower shutter speed has assisted smooth the waterfall in this scene, Gljufrabui waterfall, Iceland. Credit: (C) Marco Bottigelli, Getty Images.
Shutter speed.
With a tripod, you can use slower shutter speeds, and by using the self-timer you do not need to stress about electronic camera shake when pushing the shutter release button. Another thing to be mindful of is your camera strap– if this is big, then this might trigger the camera to move if it’s a windy day.
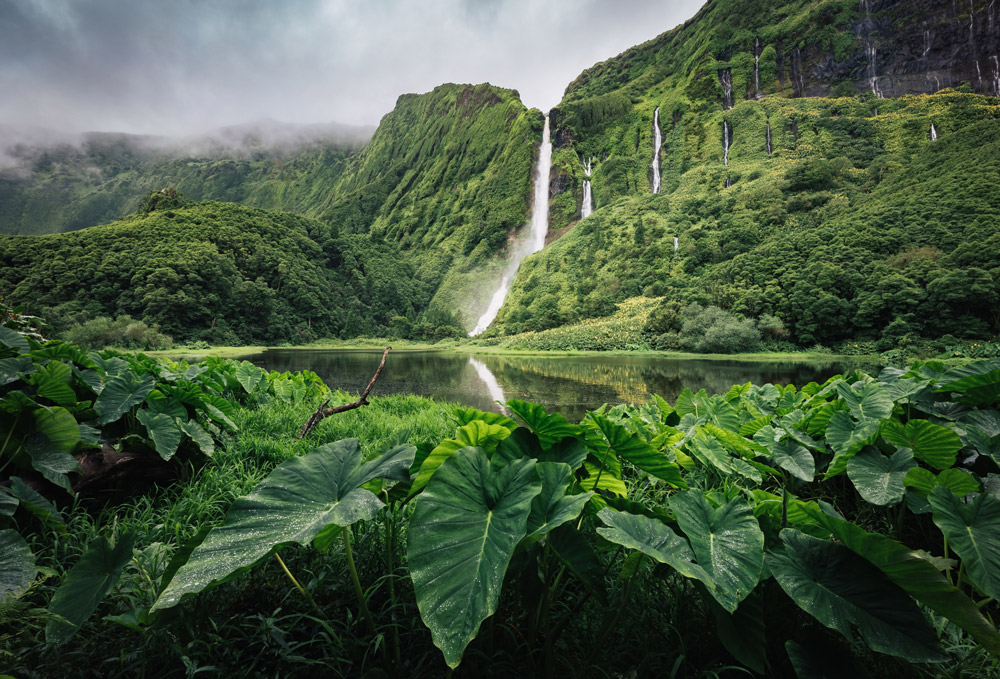
Portugal, Azores island chain, Flores island, trek to Poço da Ribeira do Ferreiro waterfalls (or Poço da Alagoinha or Lagoa das Patas)– This image shows the location in focus from the front to the back. Credit: Francesco Riccardo Locomino, Getty Images.
Focus and front-to-back focus.
To keep things basic, by utilizing one focus point, you can manage and know where you are focusing in your image. You will want to focus so that you can get as much as possible from the front of the image to the back of the image in focus. Do not worry too much if you do not accomplish perfection however try and focus on the main area of interest in the frame.
What produces great landscape photography?
Light and location play an enormous part in landscape photography, but are not the only elements to think about when shooting landscapes. Considering what you consist of in your image can take your landscape photography from typical to incredible.
Here are 6 main points to consider when composing your shot:.
Light (and weather condition).
Area.
Points-of-interest.
Leading lines.
Level (Horizon).
Structure.
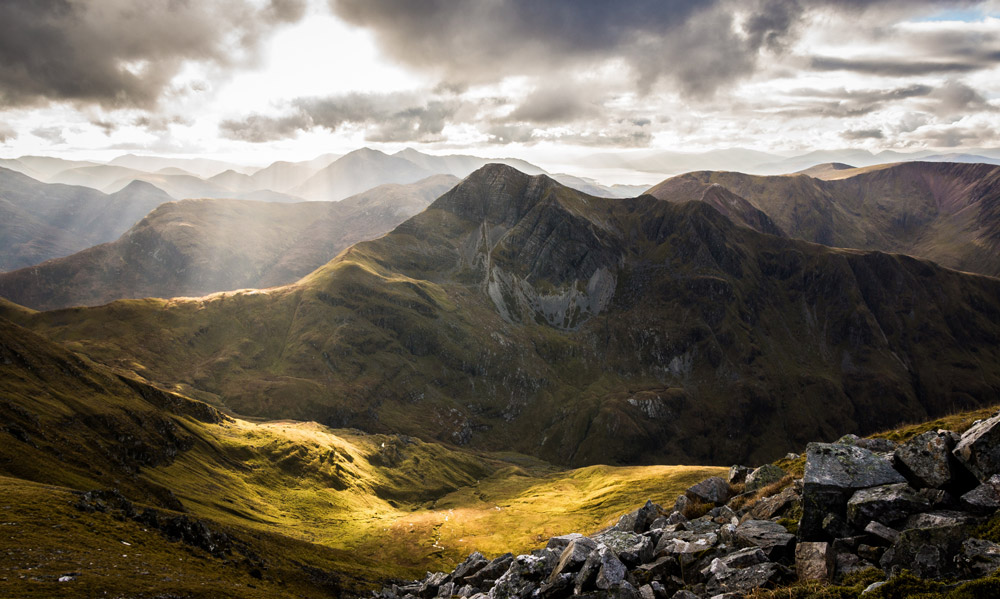
Stob Ban in Glen Nevis drawn from Sgurr a’ Mhaim with mid-Autumn sun illuminating the glen listed below with layers of Glencoe mountains in the background. Credit: Scott Robertson, Getty Images.
Light, weather.
Shooting in the “golden hour” (the hour prior to sunset or dusk, and the first house after dawn, dawn) will give you warm golden looking landscapes, or “blue hour” after the sun has actually set or prior to the sun has actually increased, with offer you images with a blue tone. Right before or just after dawn or sundown is also a great time to shoot, as the sky modifications various colours. For more examples have a look at our guide to outside light with David Noton.
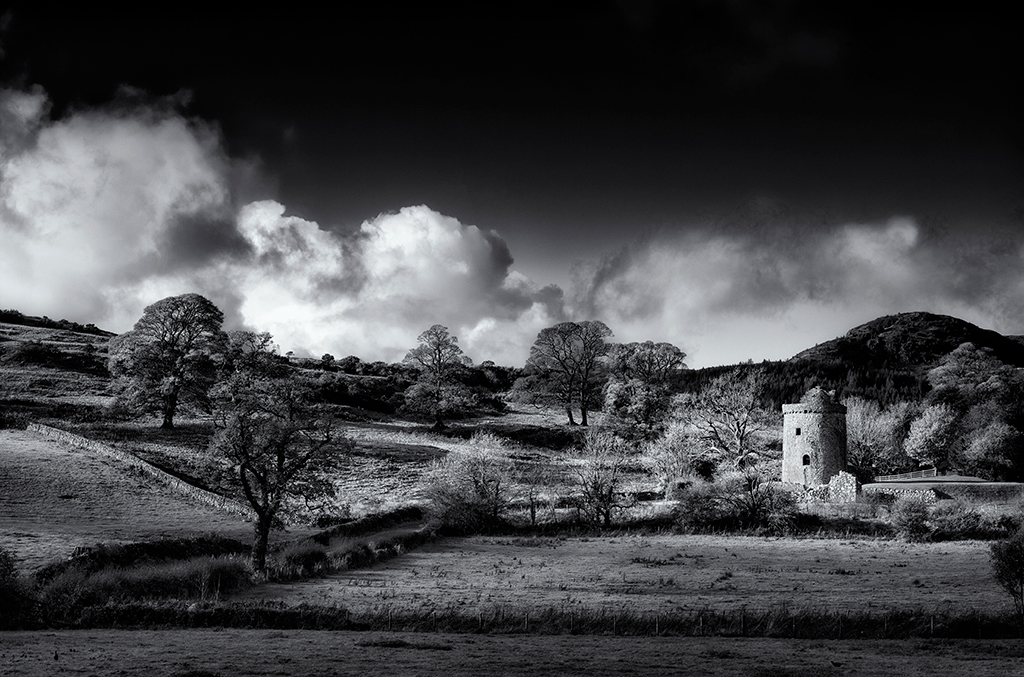
Weather condition can considerably alter the light in the scene, along with the look of a landscape image, so don’t hesitate of shooting when there is mist, fog, or perhaps throughout or after a shower. A break in the clouds can turn a dull image into a striking image as can be seen in the example above. If your camera and lens are not weather-sealed, make certain you have a water resistant backpack or plastic bag to use some defense for your set in the worst of the weather condition.
… and Location.
Shoot someplace dull, and even with the very best lighting possible, the best video camera possible, and the very best settings, you’ll still more than likely wind up with a dull picture. Landscape photography tends to consist of travel, and finding the most pleasant-looking locations and landscapes becomes part of the interesting appeal of landscape photography, whether that’s near you, or even more away.
Check out some suggestions for the best landscape photography locations here.
Remote figure against mountain sunset– Brecon Beacons national forest, Wales, Credit: WLDavies, Getty Images.
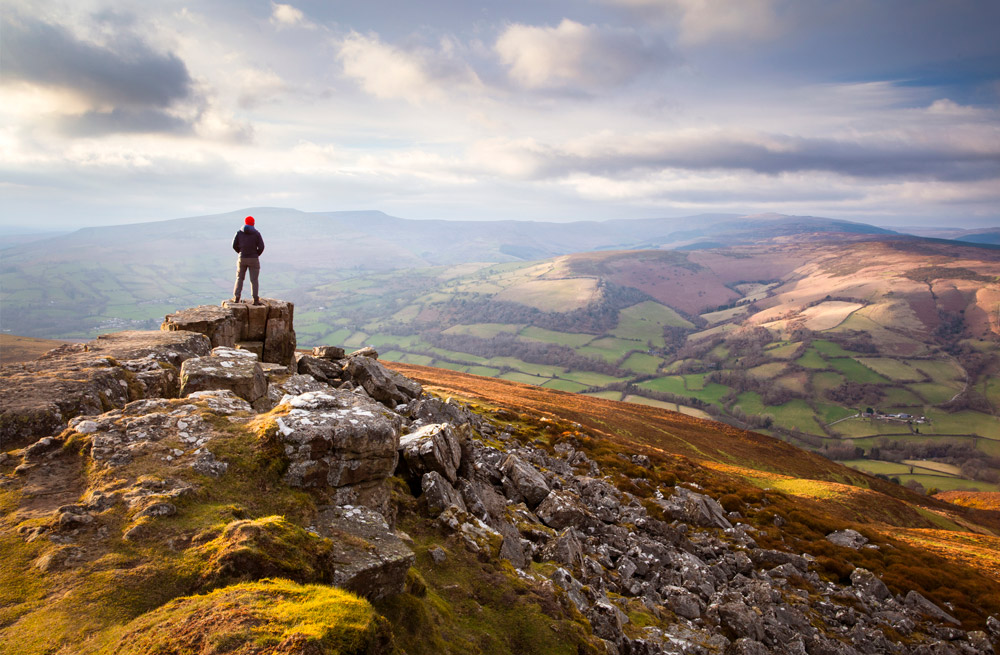
Points-of-interest.
To consist of individuals or not? The same goes for any other manufactured objects included, such as buildings or automobiles.
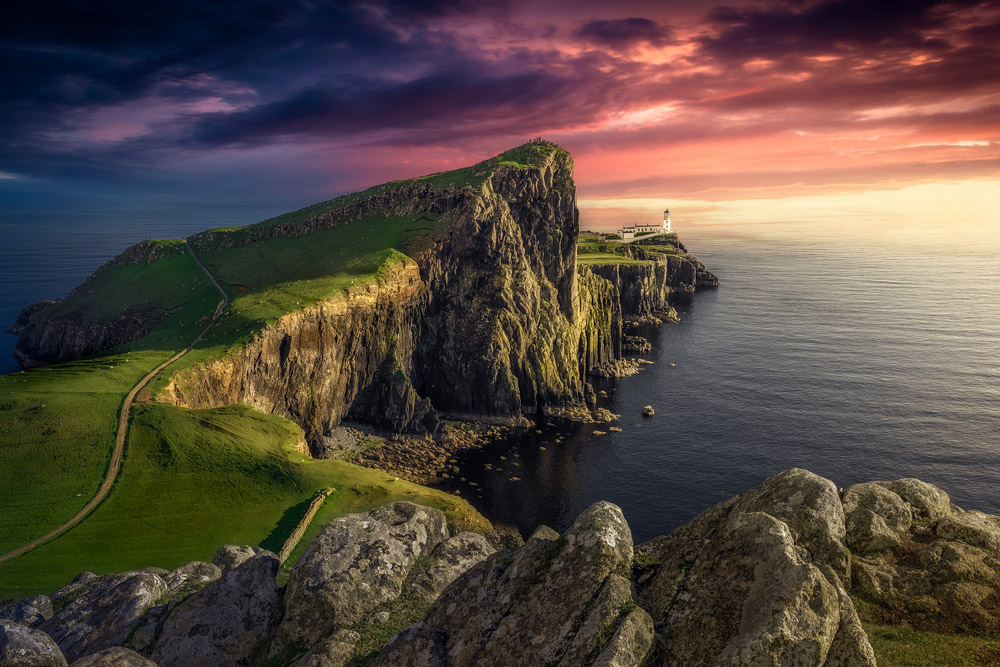
Neist Point Lighthouse, Isle of Skye, Glendale– June 9, 2019: The last sunbeam at Neist Point Lighthouse. Credit: Juan Maria Coy Vergara, Getty Images– Following the shoreline your eye ends on the lighthouse.
Leading lines.
If you consider the components in an image as directing the audience through the frame, you can try to find leading lines in your scene, such as a road leading towards an excellent mountain range, a river causing a waterfall, and even the formation of rocks and land leading you through the image.
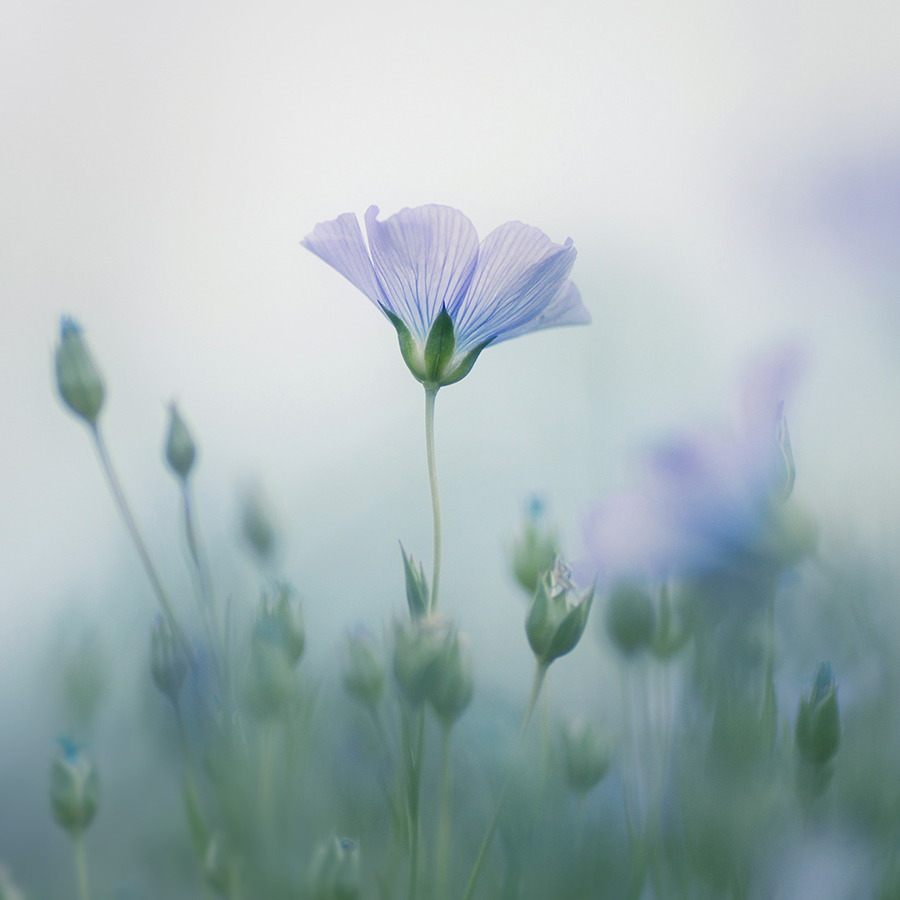
Lavender field in Valensole, Haute Provence, France. Credit: Matteo Colombo, Getty Images.
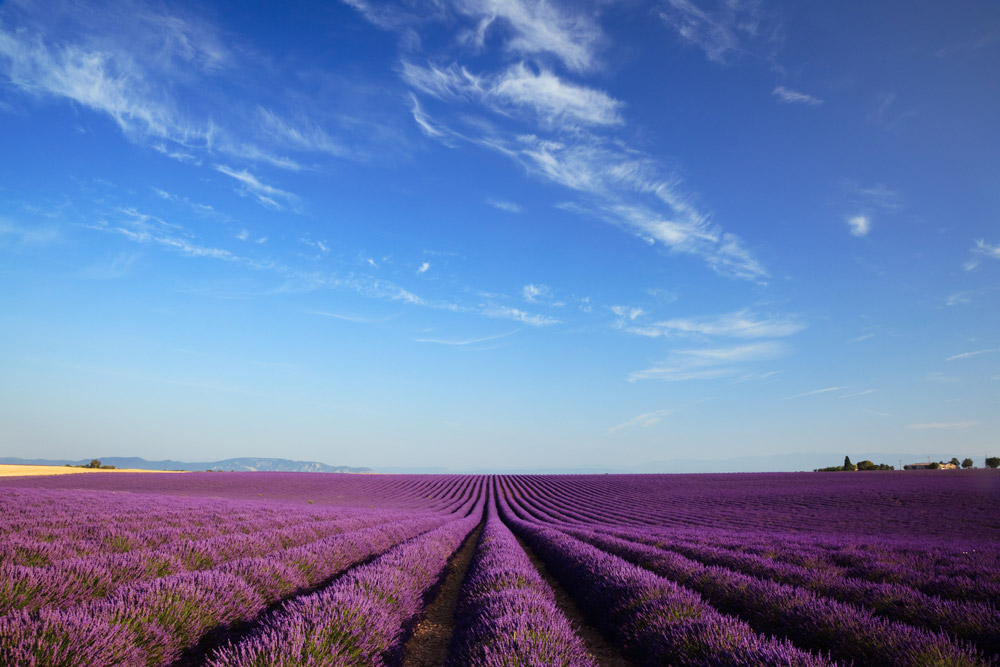
On the level?
Look for the horizon and keep the video camera level– use the camera’s built-in axis or dual-axis level if it has this, or search for the spirit level built into your tripod. If you don’t have these features, then you might get an easy spirit-level hot-shoe attachment for very little cash. Additionally, you can turn on an on-screen grid display screen if your electronic camera has this feature. If you do not handle to get it perfect in-camera, then you can always modify the image later on to tidy the image. Some modern electronic cameras have a built-in horizon correction function, so inspect your handbook to see if yours has this.